I was asked from my talented cousin who owns Istilia Roche Paper Flowers, to make some cookies for her workshop. She wanted to give them out as a thank you to all her participants. Definitely a great idea and one that I have done as well many of times. Once u wrap them up in a cellophane bag and add a ribbon with a thank you label and or logo u can’t go wrong. Here are my step by step directions to create these cookies. This is also a good recipe to keep on hand and use as your base for decorating cookies in general.
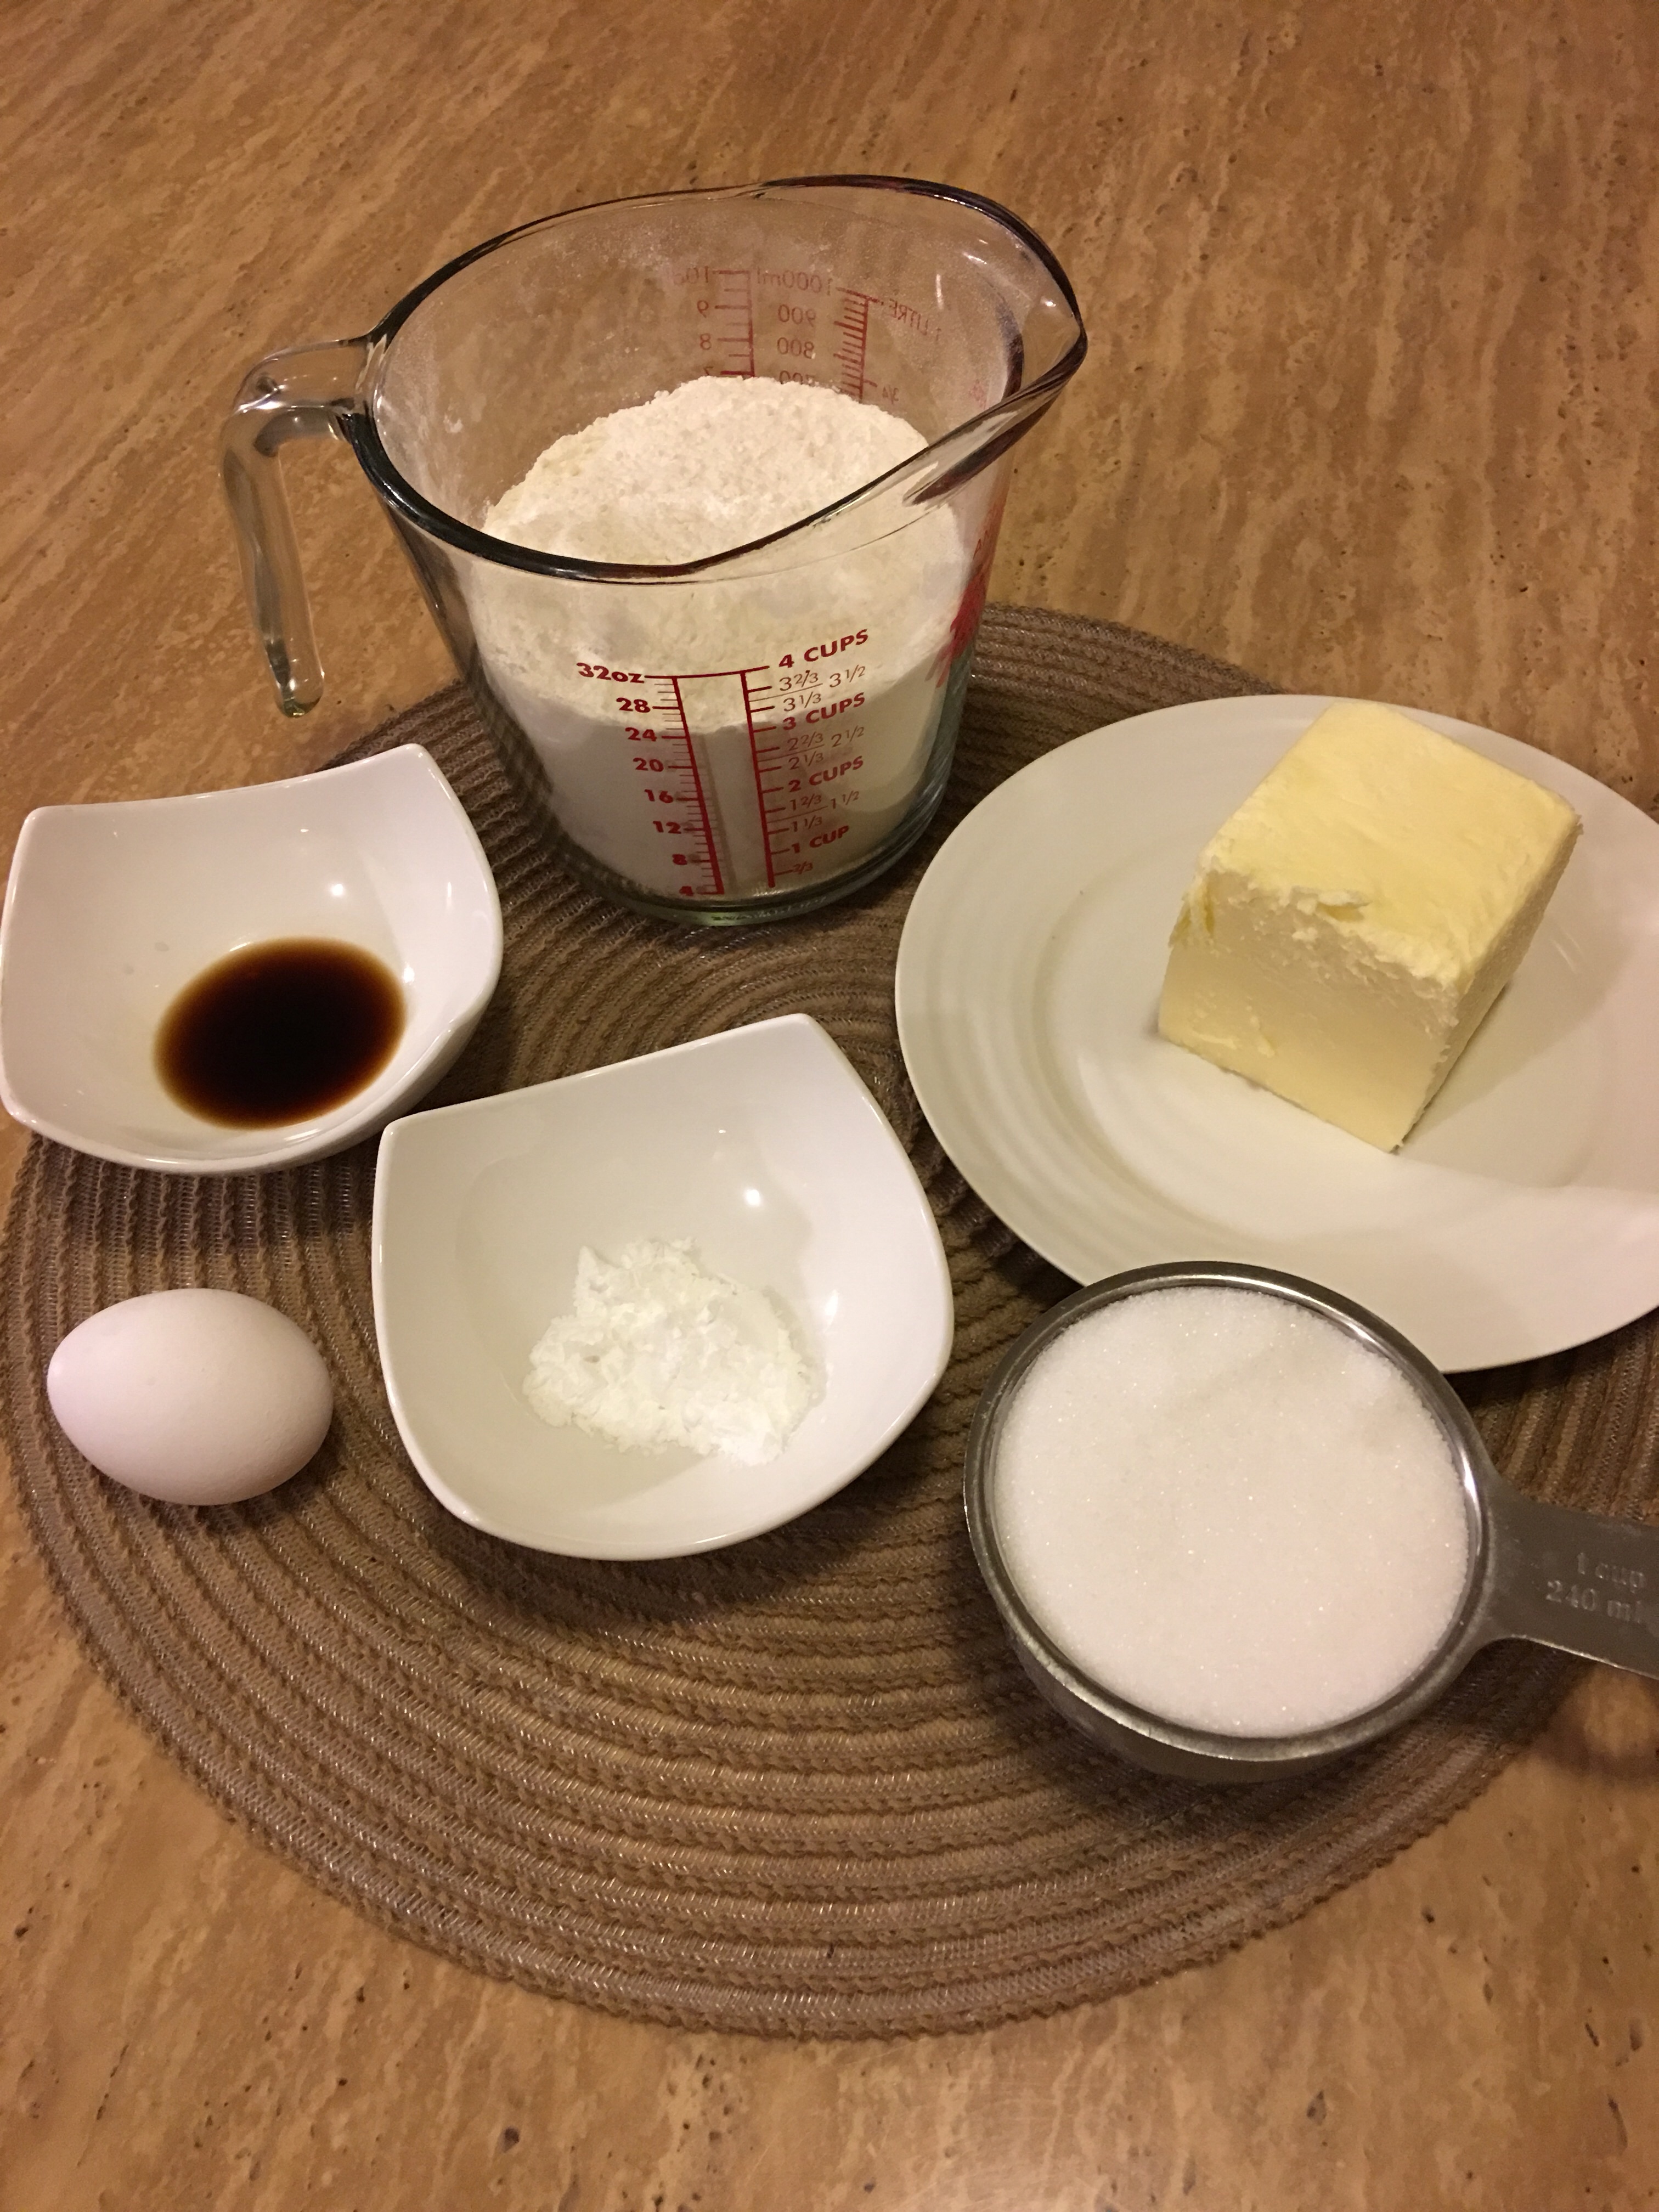
Cookie ingredients:
- 3 cups of all purpose flour
- 1 cup of unsalted butter
- 1 cup white granulated sugar
- 1 egg
- 1 tsp vanilla extract
- 2 tsp baking powder
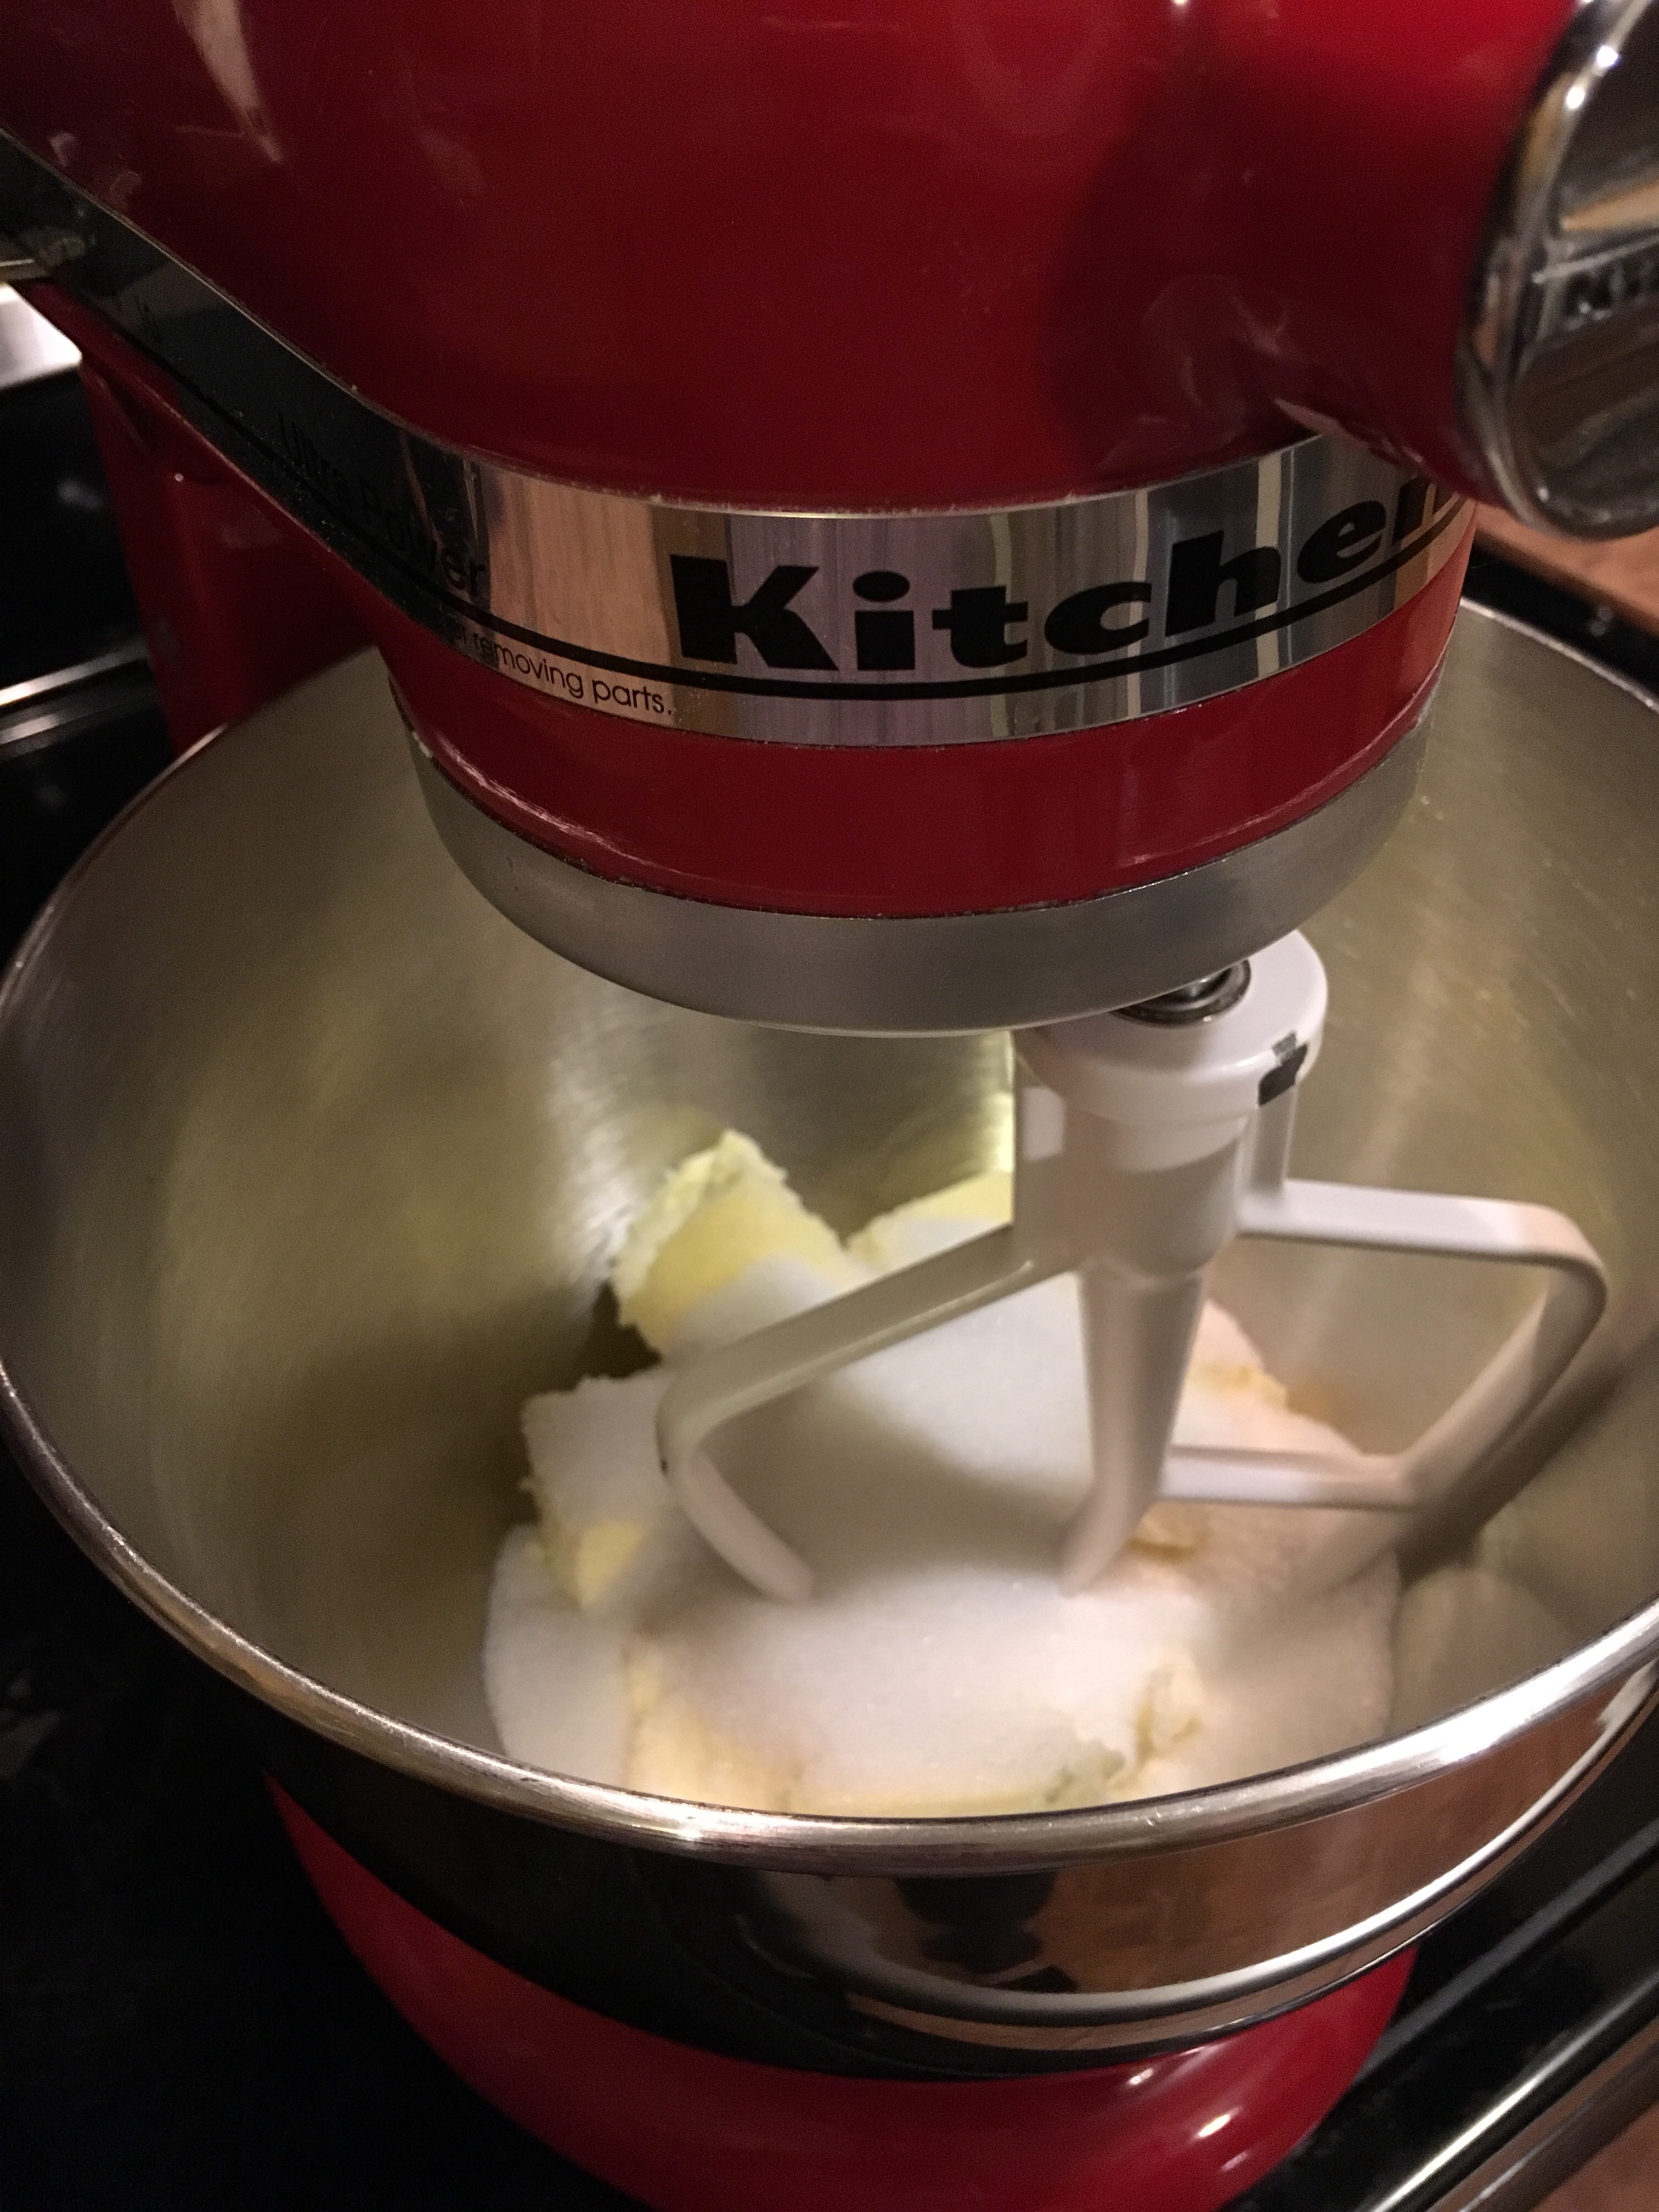
Mix the sugar and room temperature butter on medium.

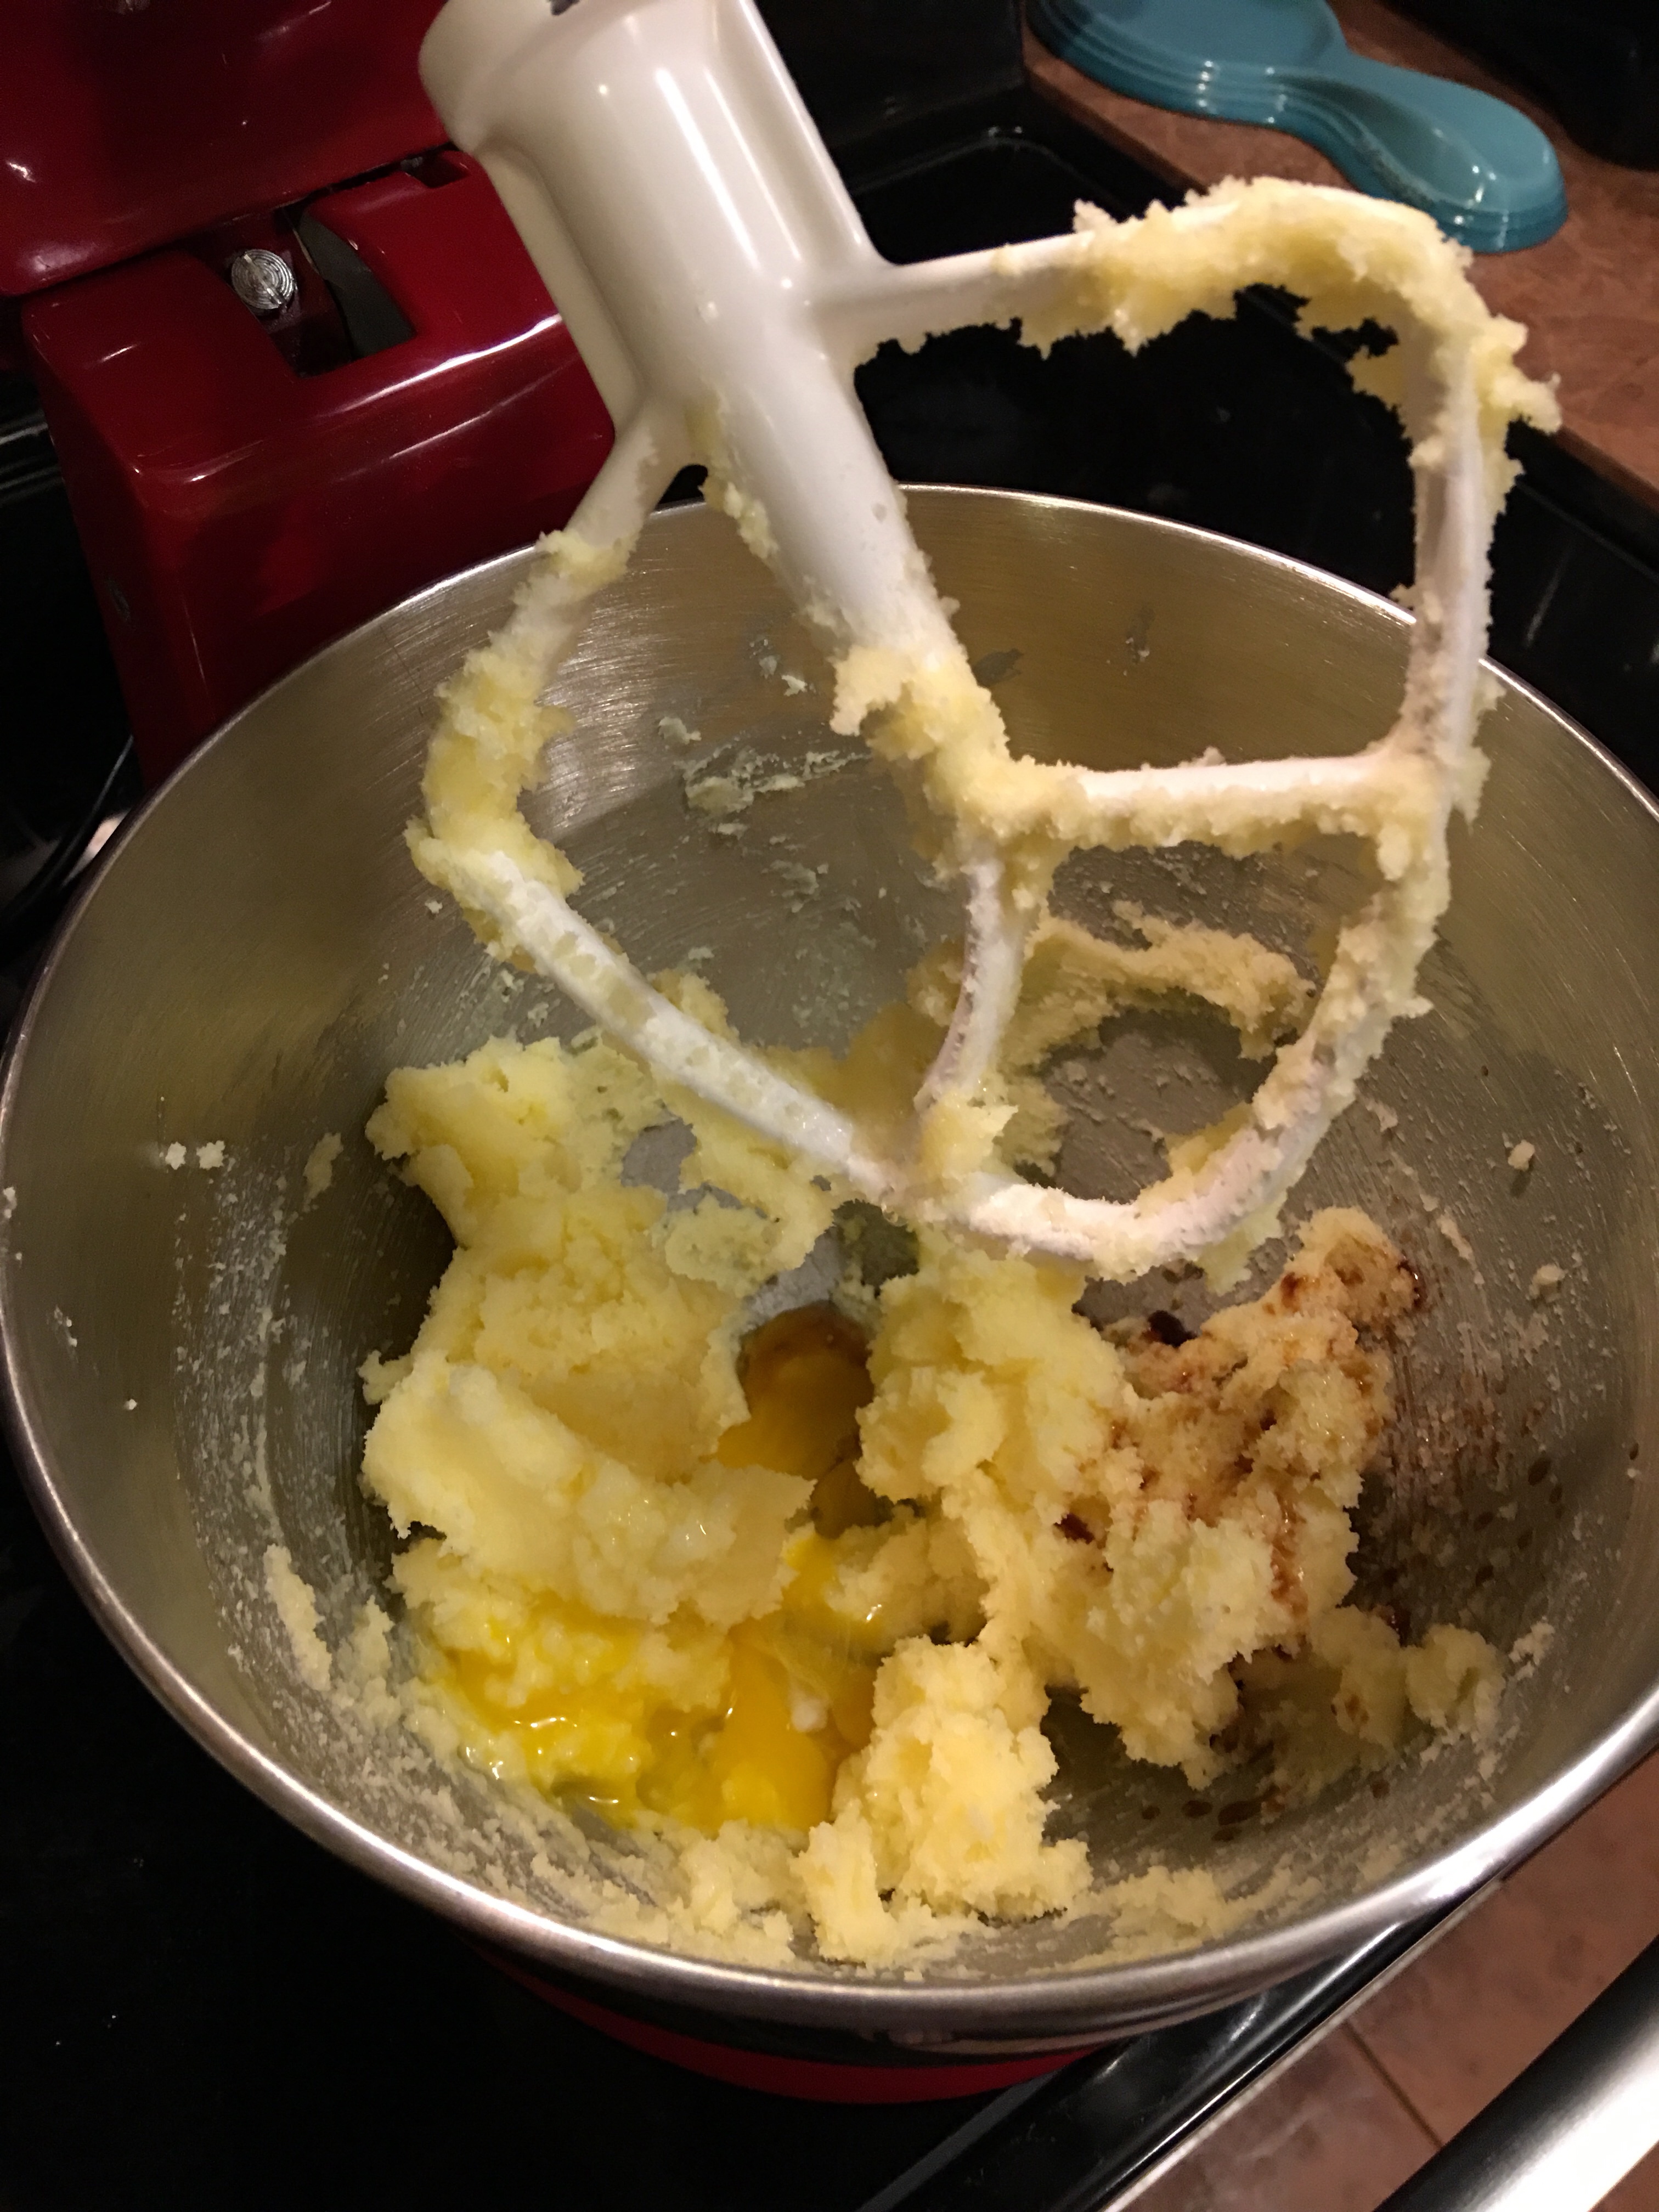
Add the egg and vanilla and continue to mix.
In a separate bowl, mix flour and baking powder and add it slowly to the mixture.
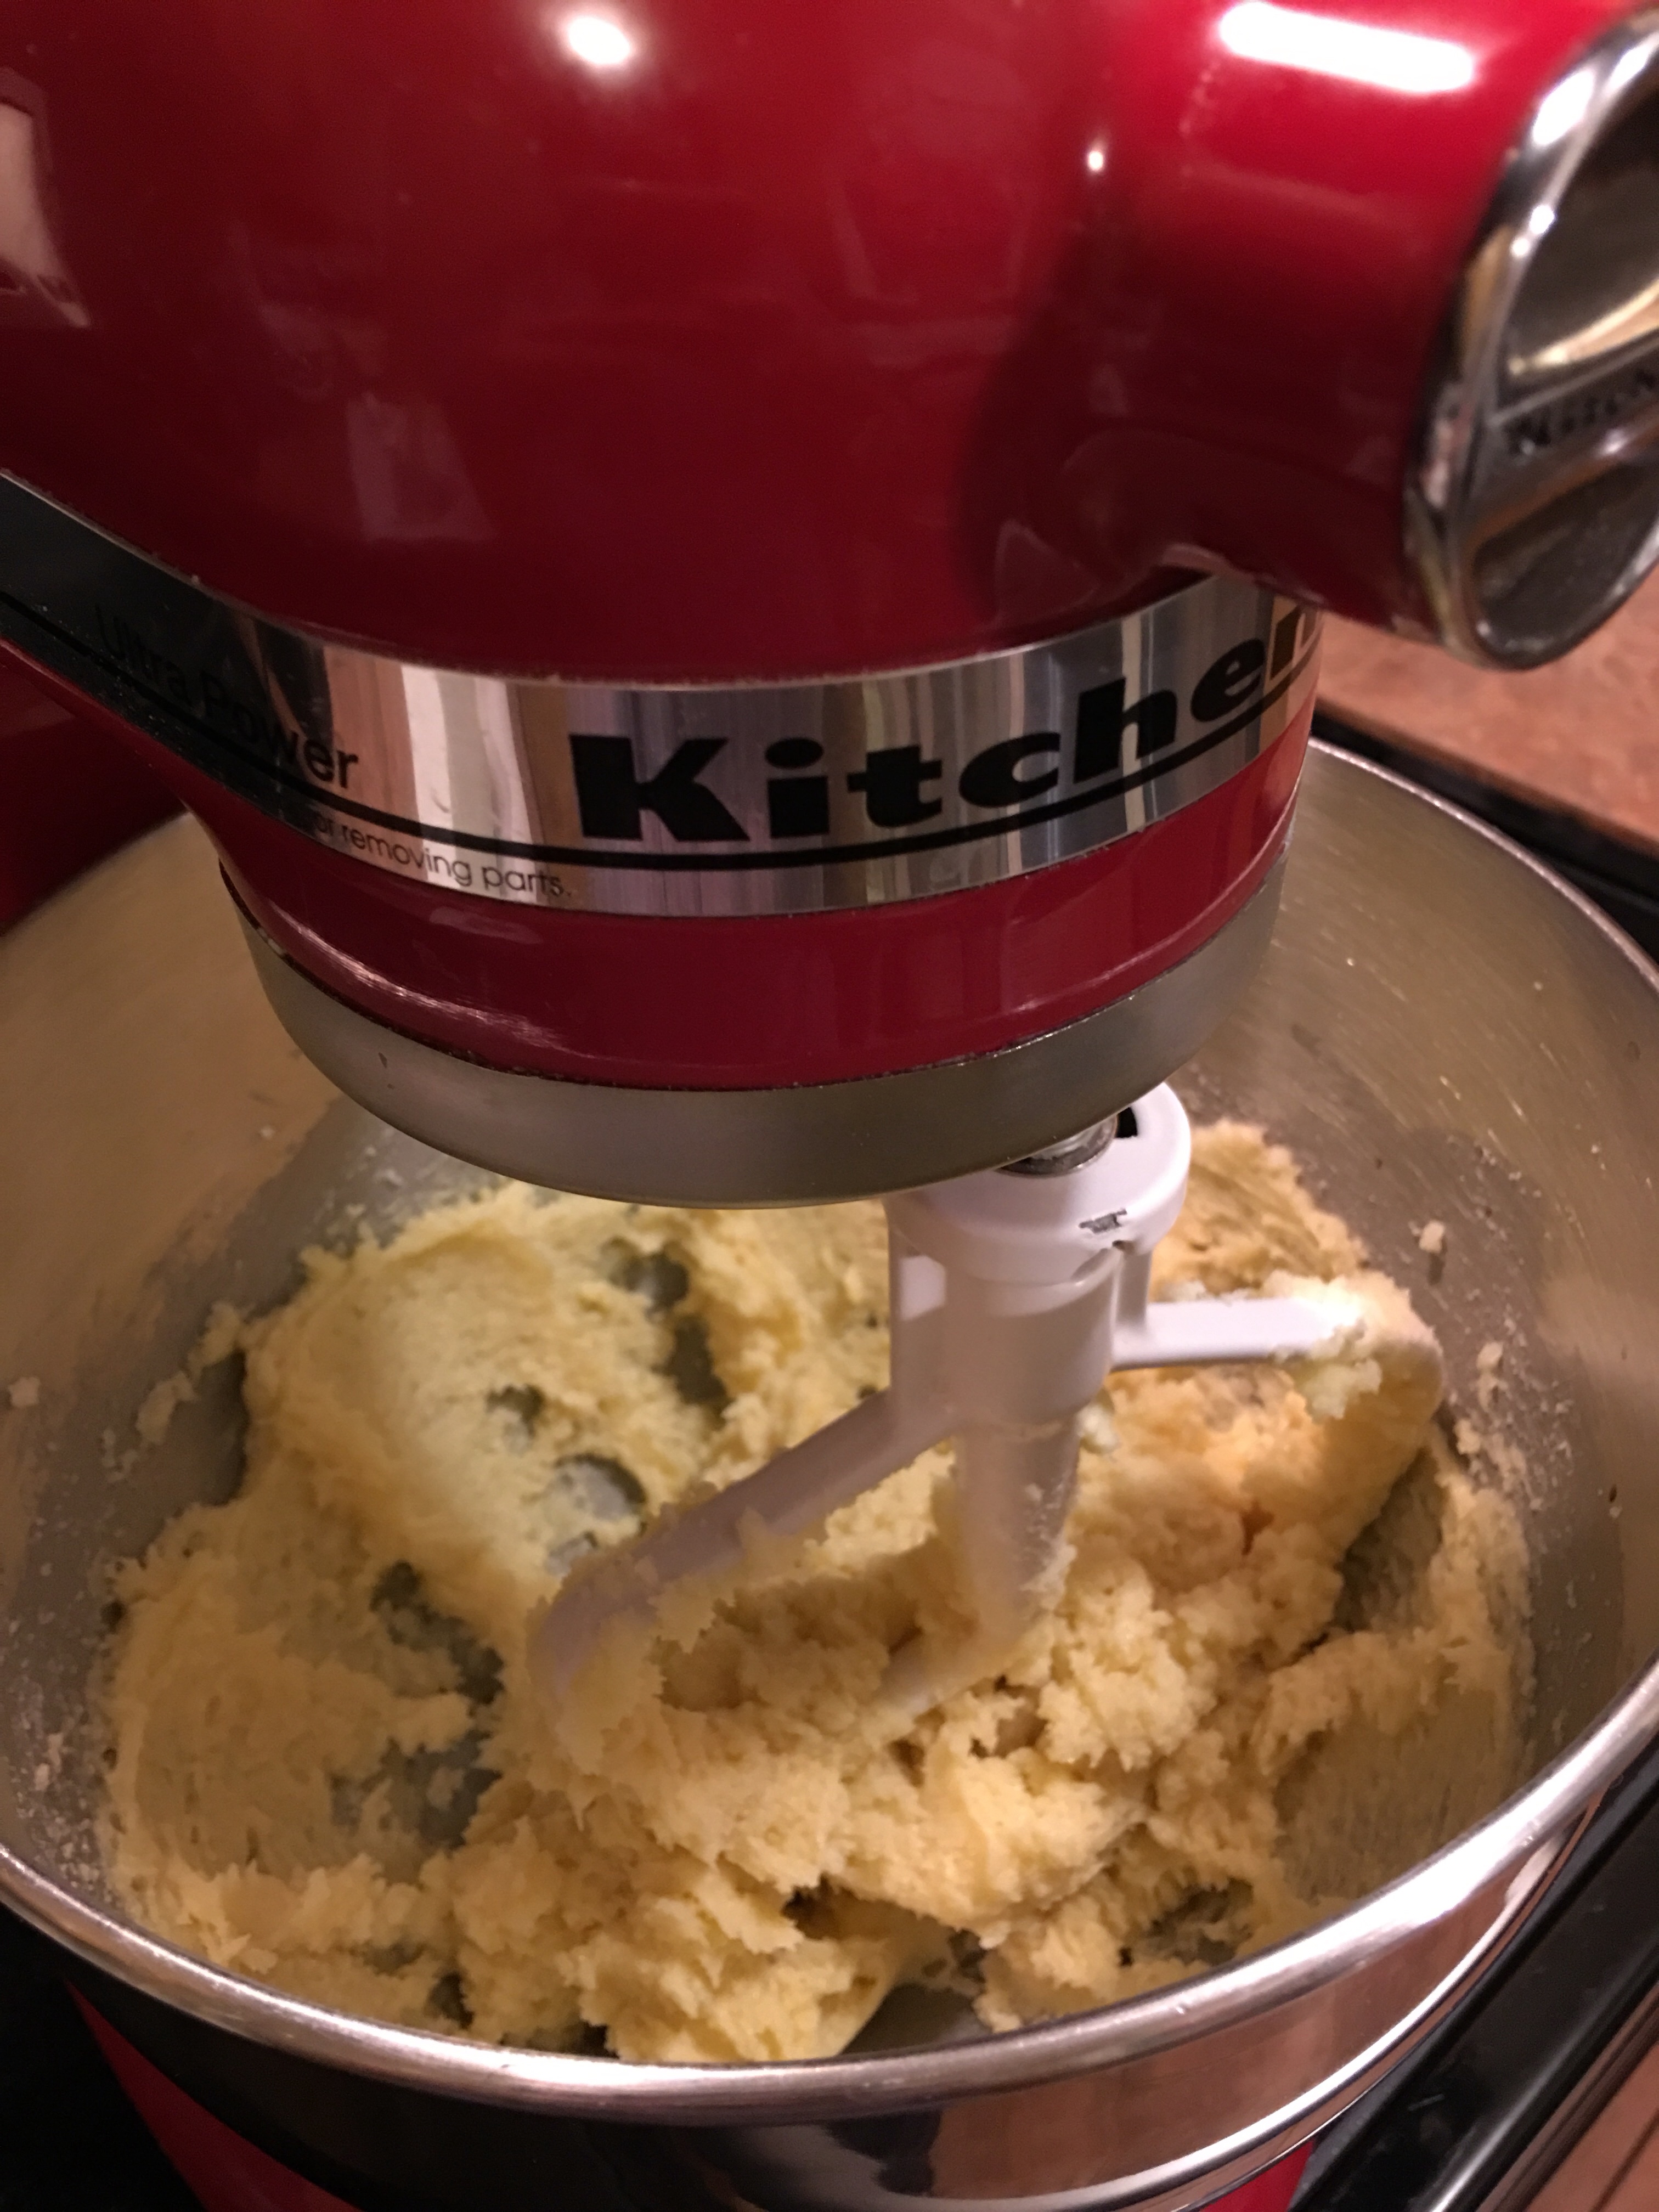
Mix well, if the dough begins to feel too stiff in the mixer take it out and finish by hand.
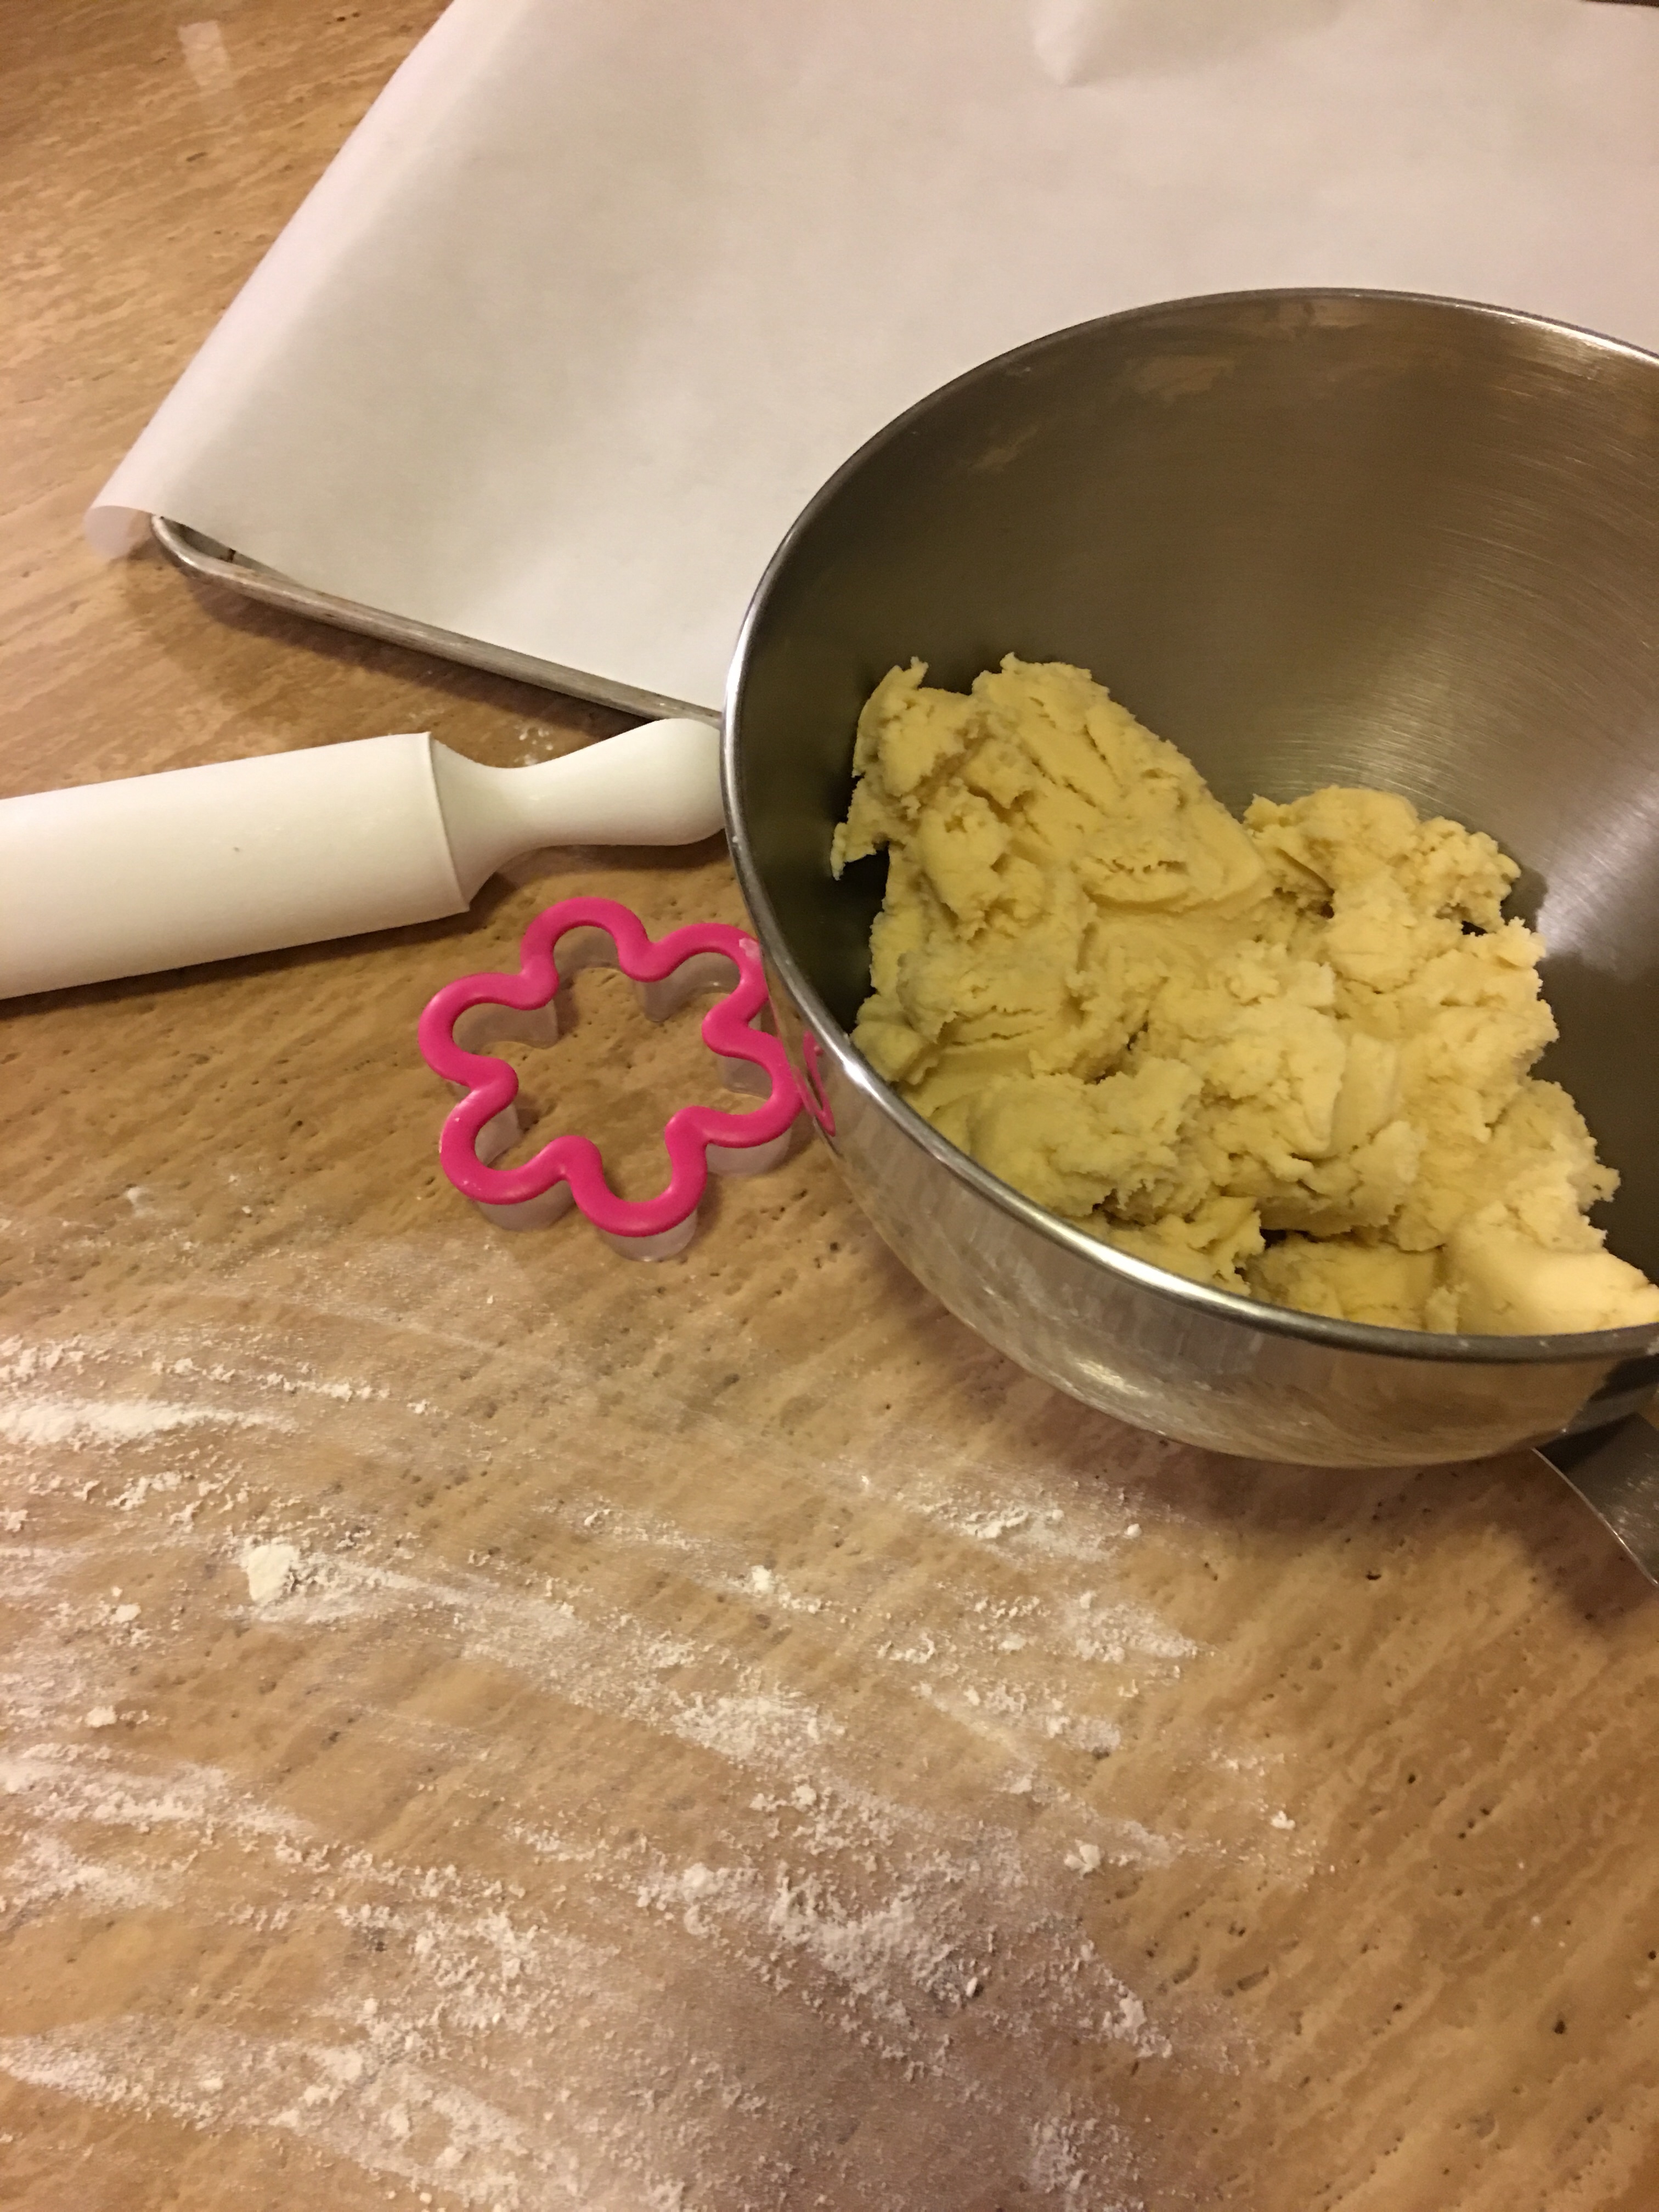
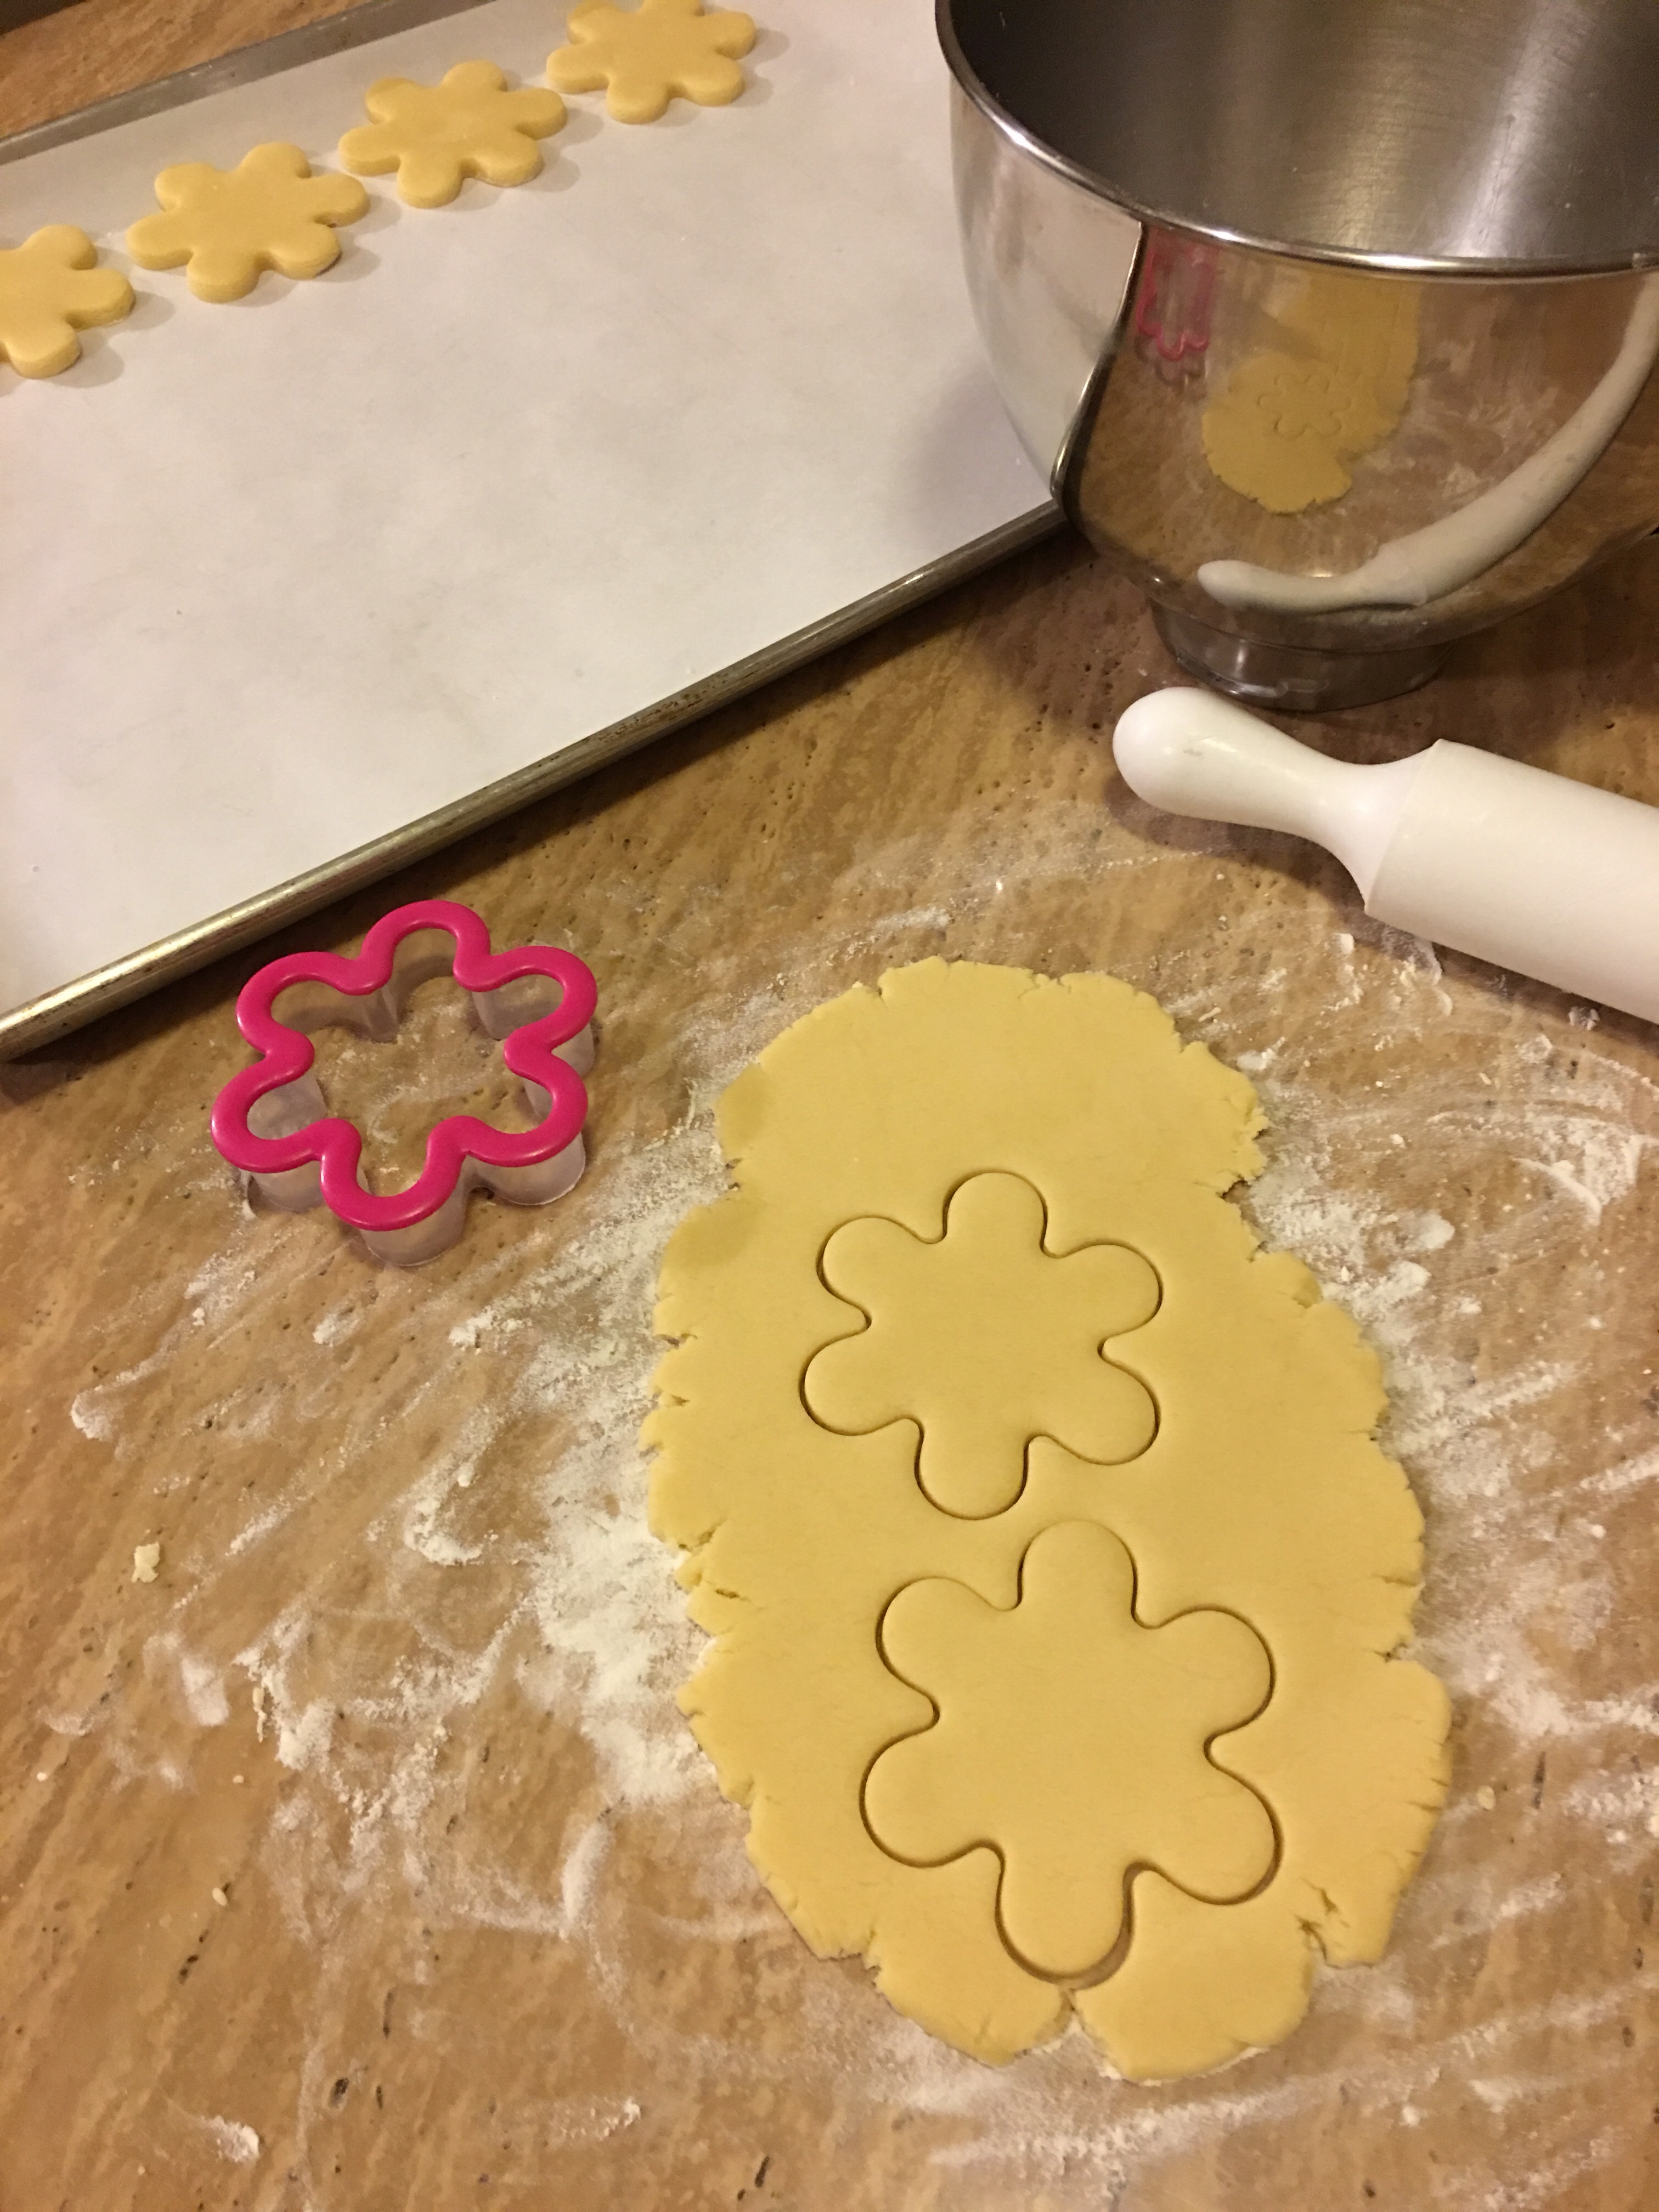
Prepare your working area with everything you need to begin. Side note, the flower cookie cutter was purchased from Bulk Barn. Then roll out dough to desired thickness, this will also determine the amount of cookies and time it will take to bake.
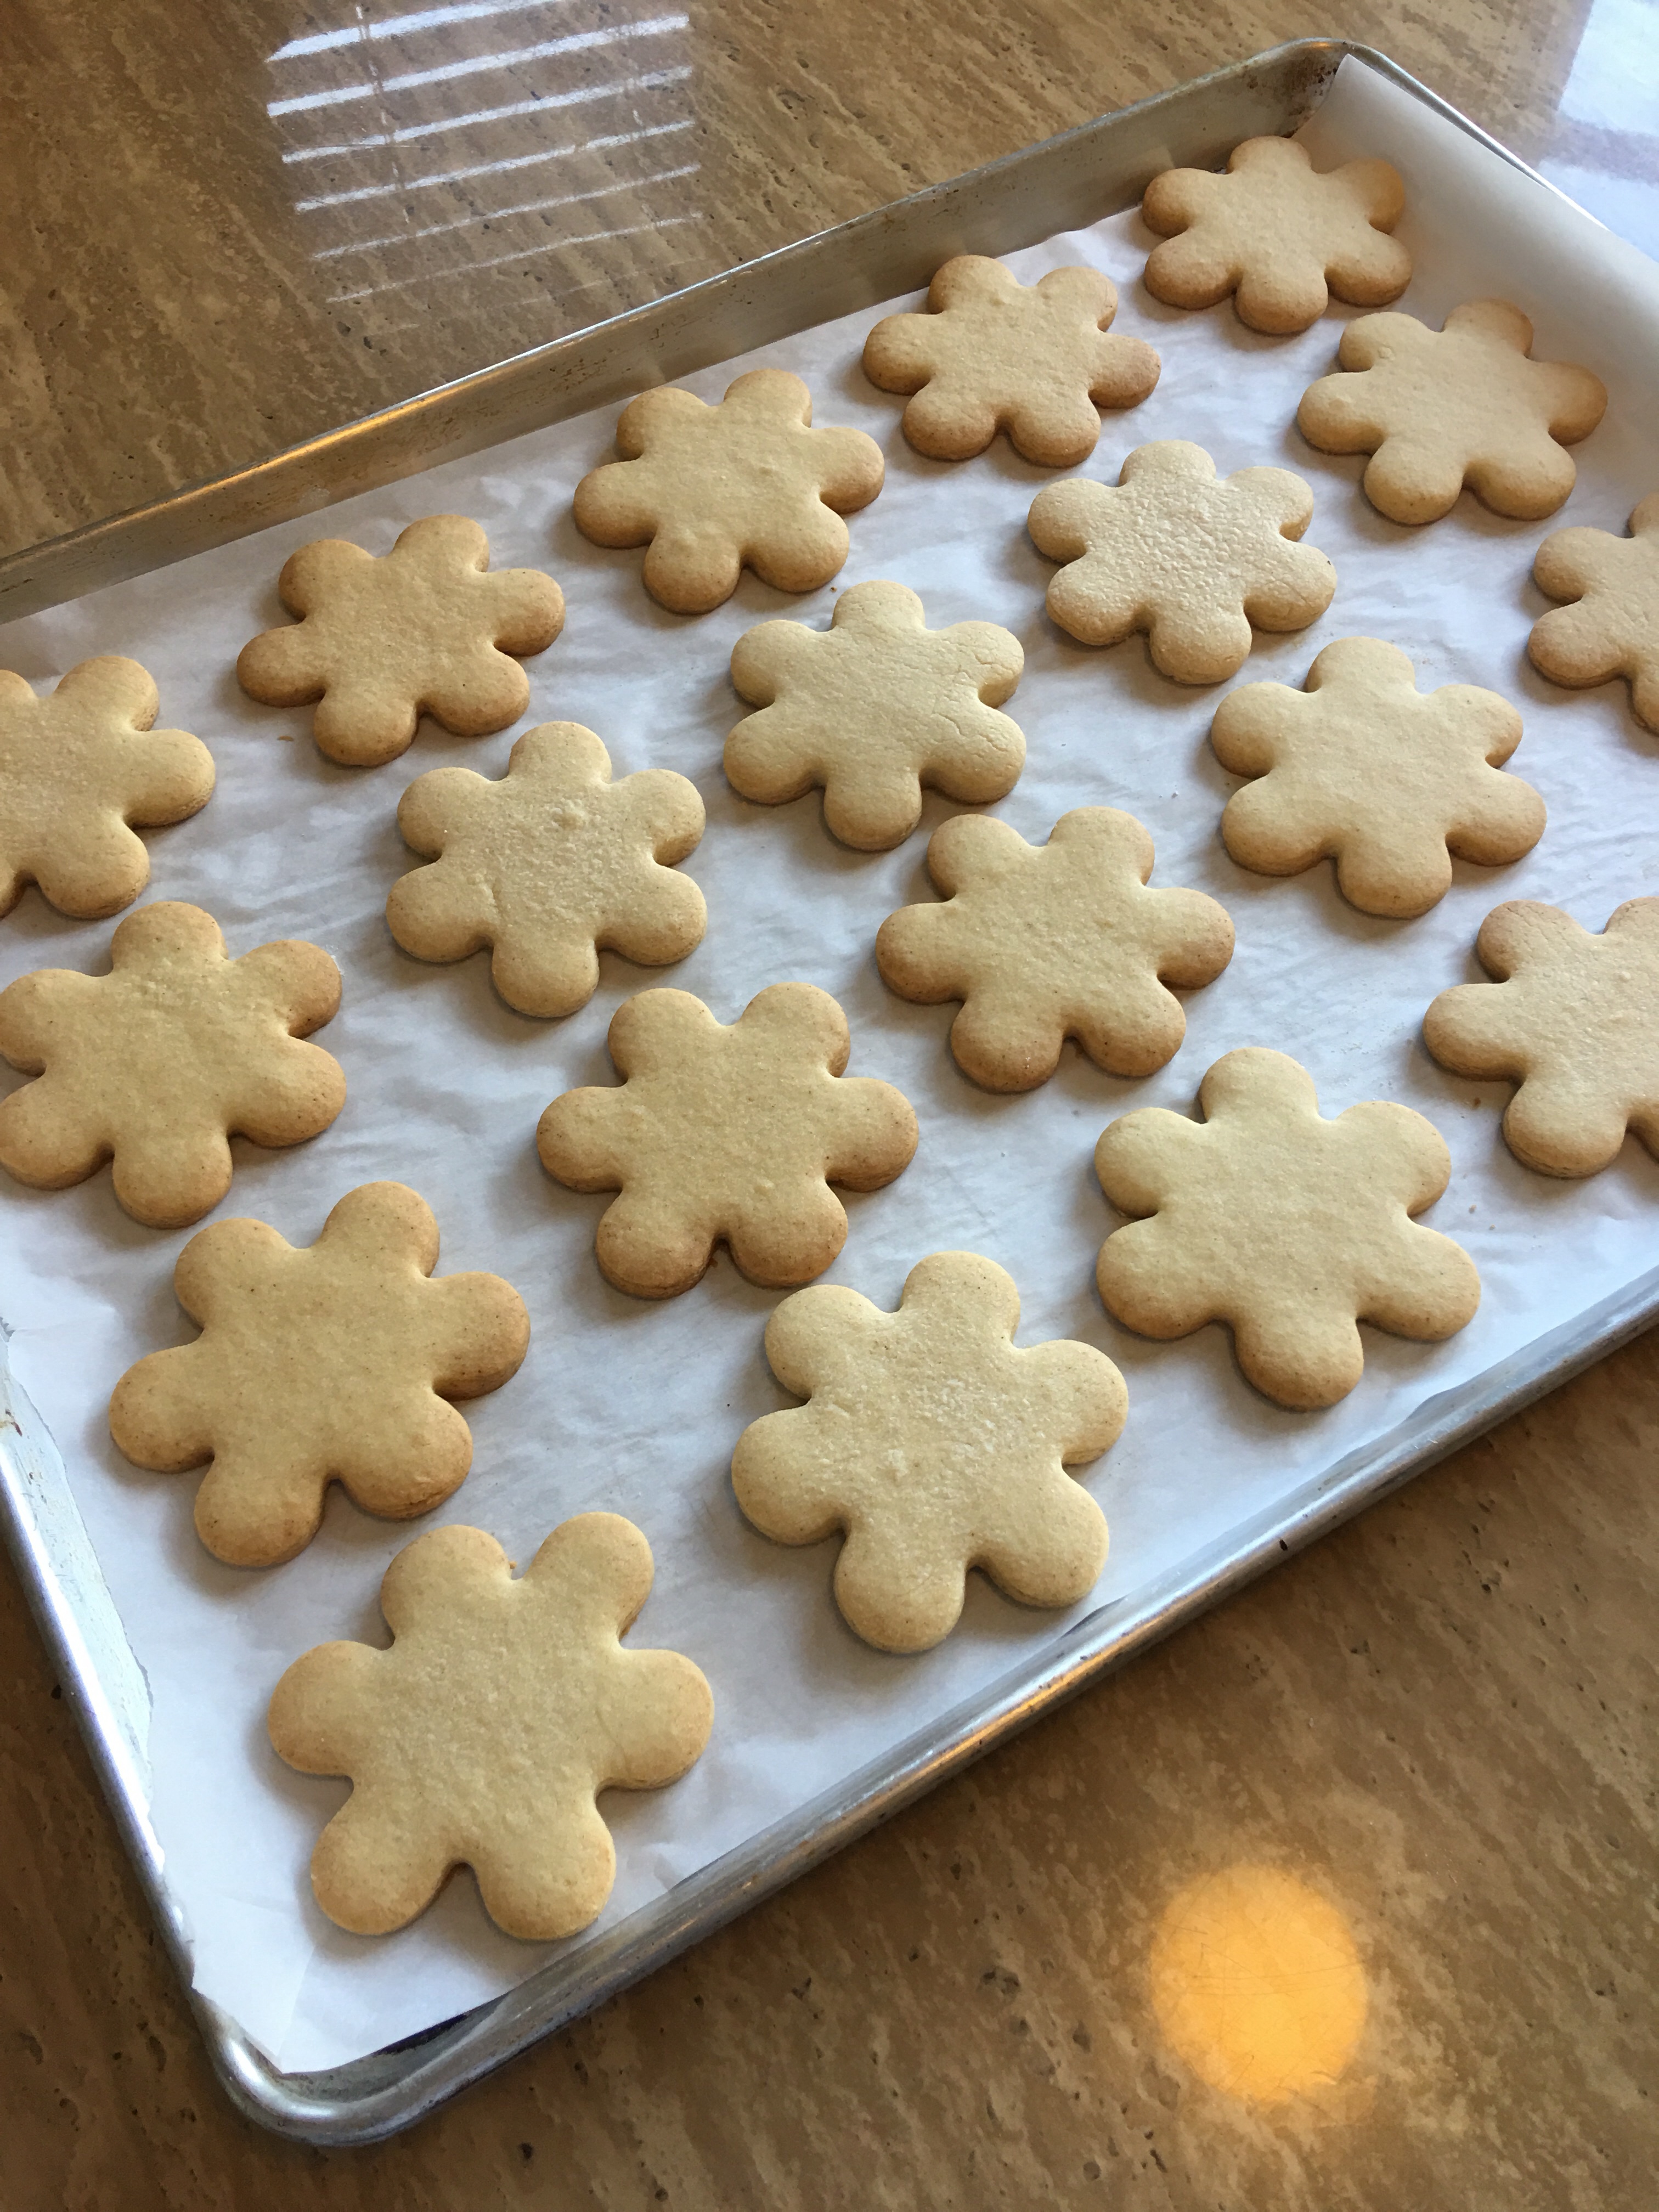
Place cookies over parchment paper on a pan and bake in a 350 degree oven for 10 to even 20 minutes. The longer u bake them the crispier the cookie will become. However make sure the edges of the cookies don’t become too brown, for appearance sake. Once done let them cool completely before icing.
Icing Ingredients:
- 1 cup powdered sugar
- 4 tsp 3% milk
- Food colouring
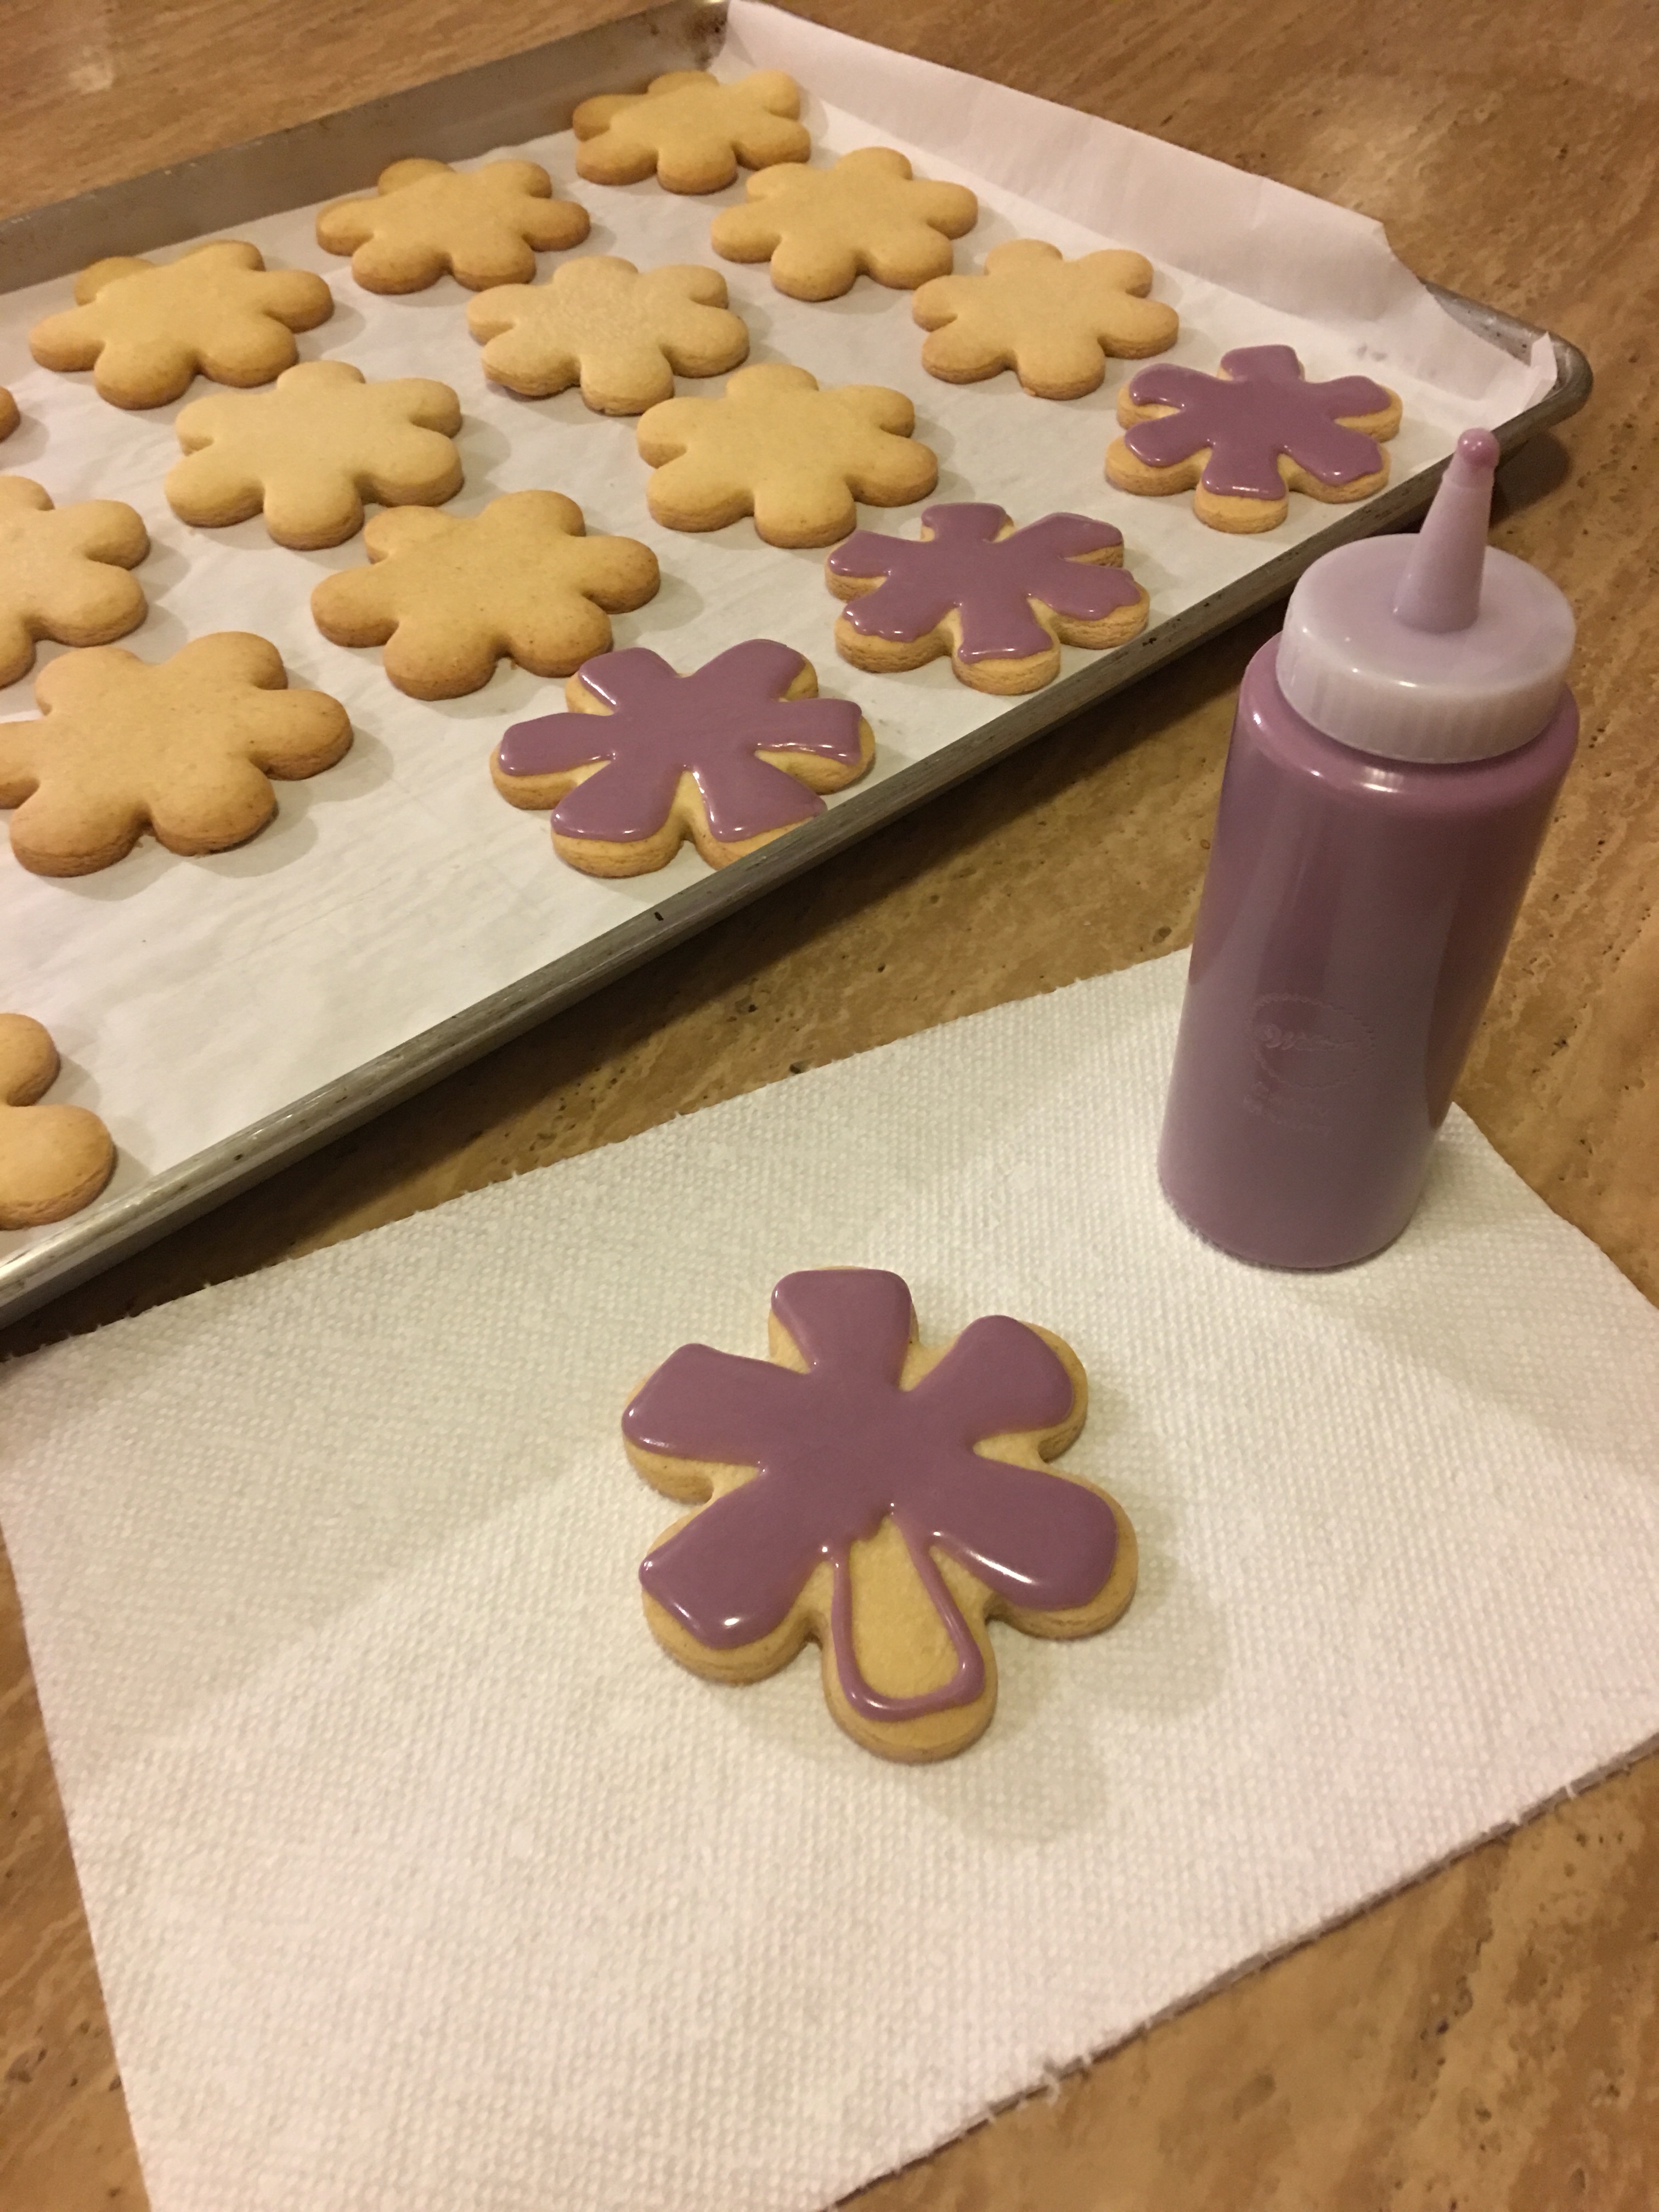
Use food colouring to get desired colours. Keep in mind the more food colouring the more runnier the icing gets, instead add more powdered sugar to thicken. When applying icing it helps to start with the outline and then proceed to fill in. Many tools are available such as the squeeze bottle shown above, also purchased at Bulk Barn. Or you can never go wrong with the classic Ziploc Bag, which is what I used to get my fine black line details. Once you’re done decorating, leave them to dry overnight and package them the next day.
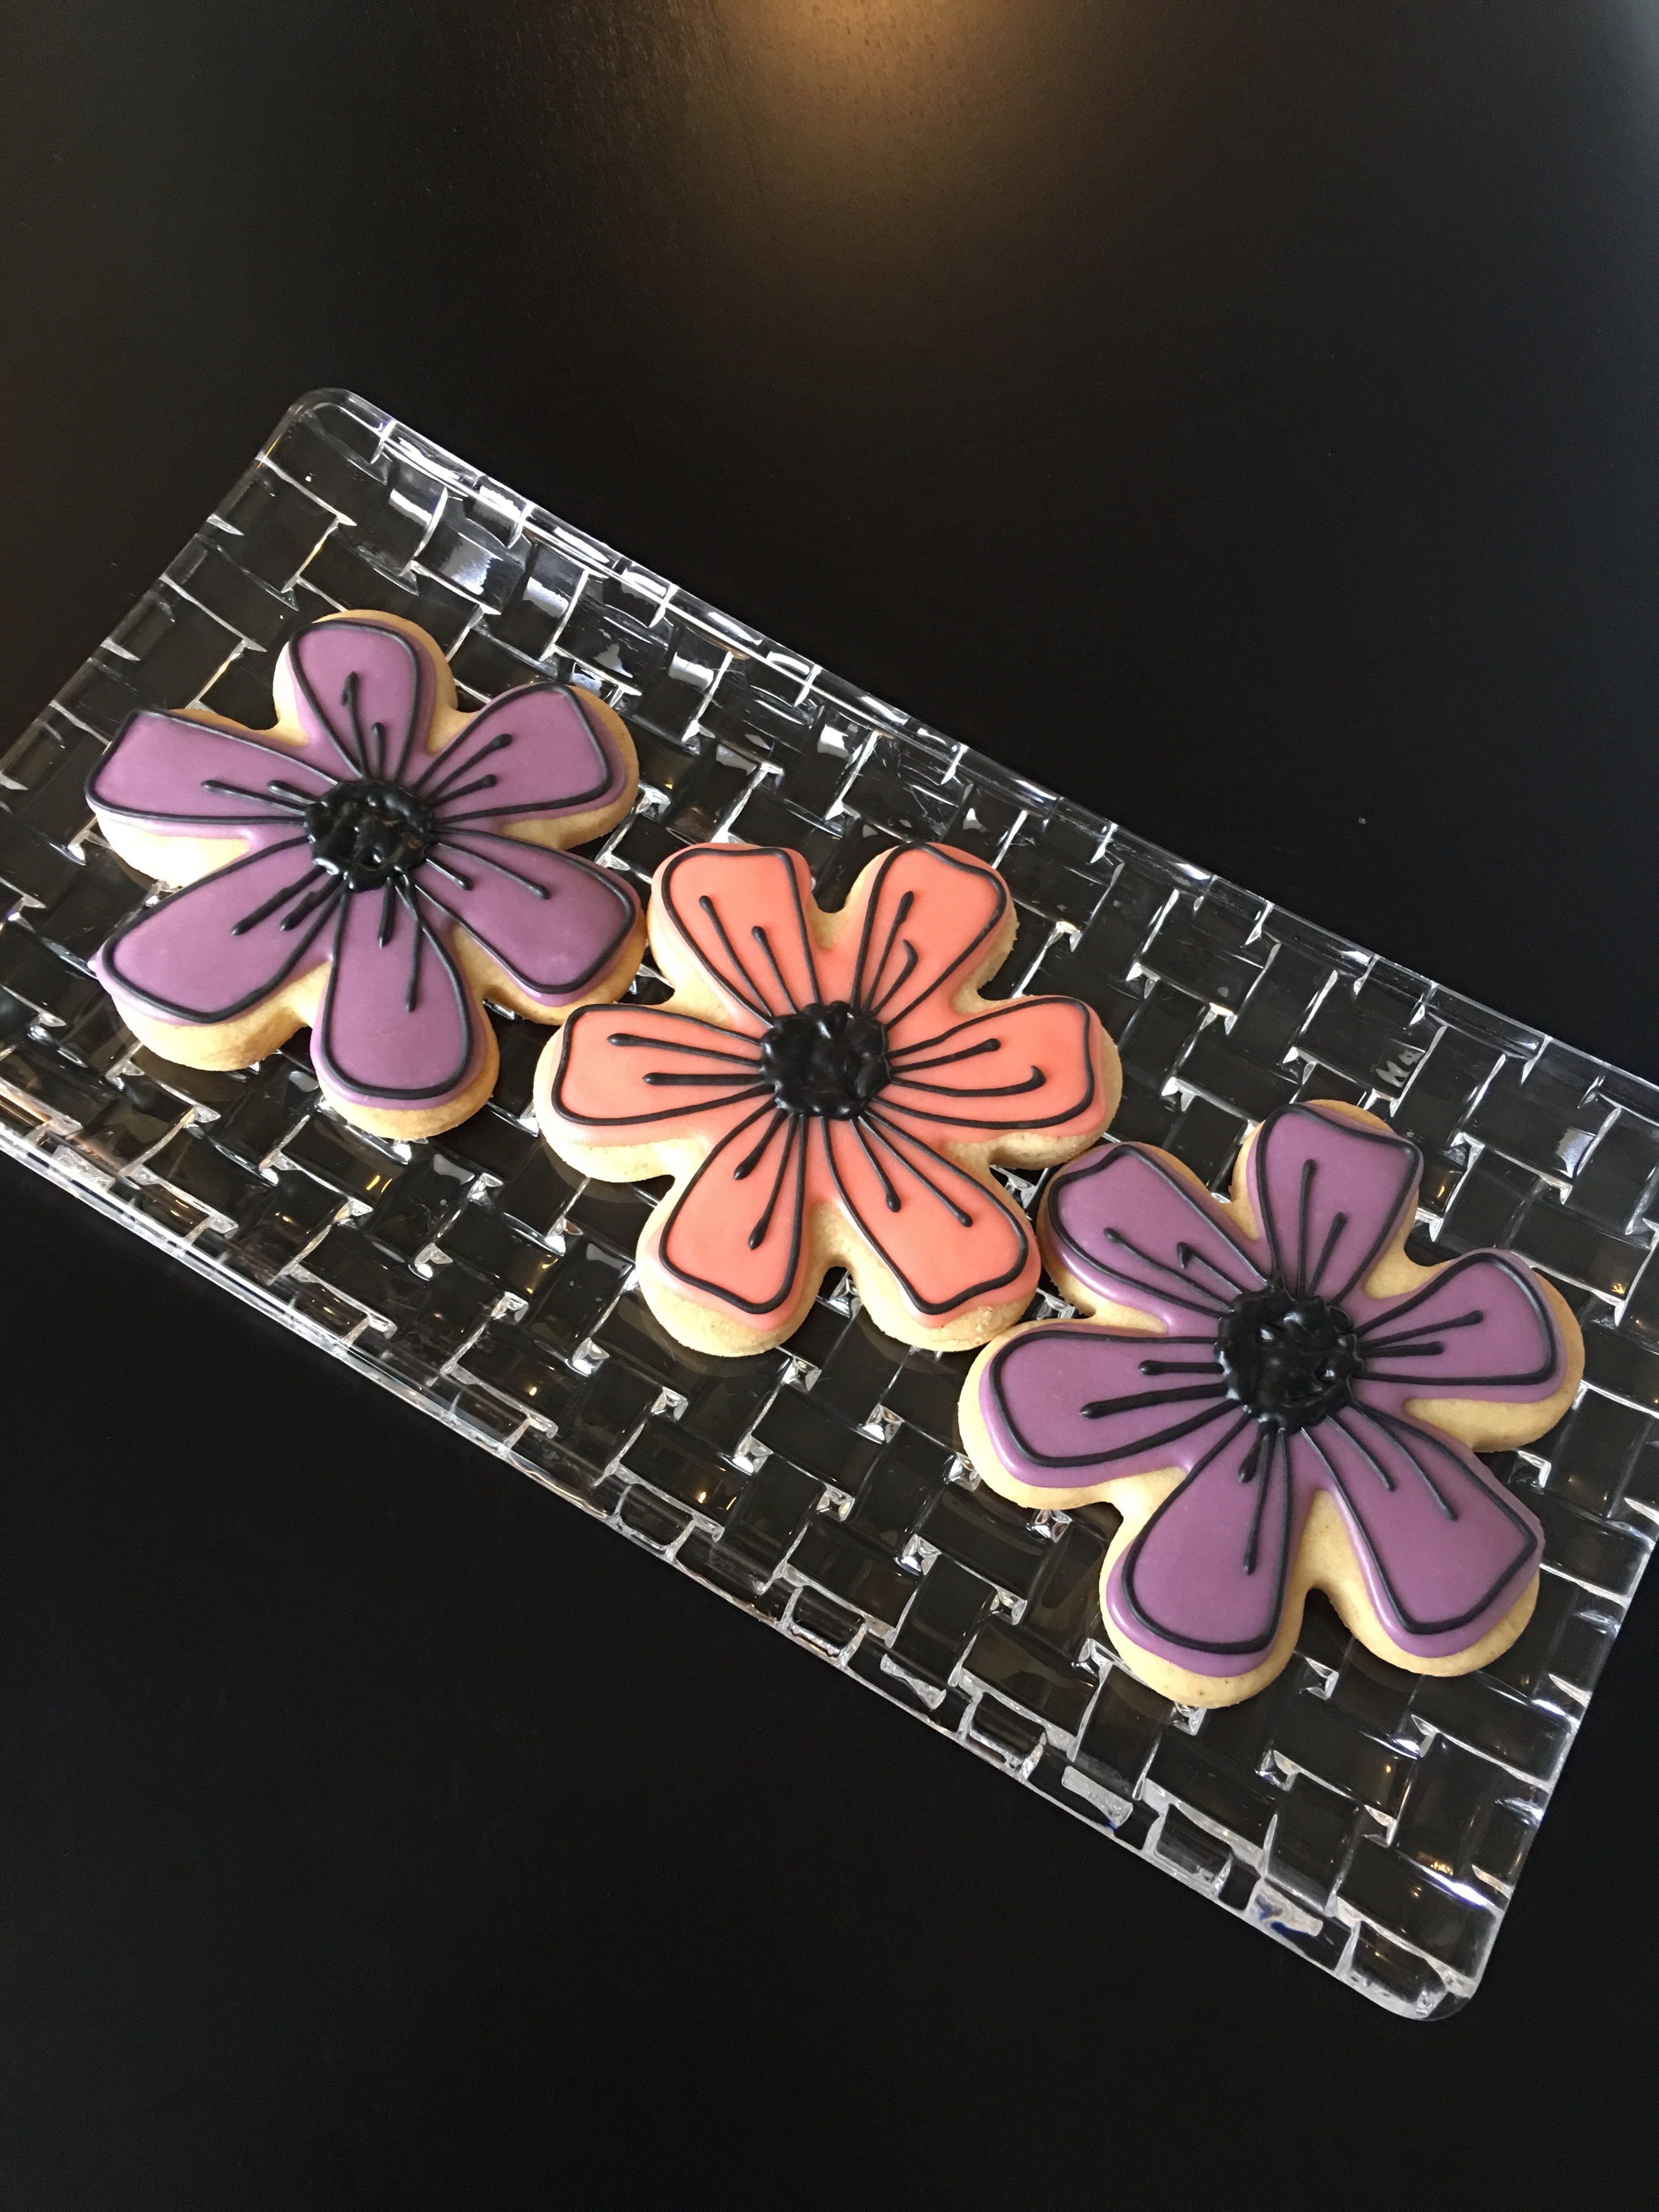
I really enjoyed making these and I’m very pleased with how they turned out. You can never go wrong with cookies, specially when they look and taste just as great. If your new to decorating cookies, I recommend you pick a design that you can easily replicate. It will also force you to study how the design was executed. Your creativity and ability will play a big role as well. Like myself, I’m still learning and practicing but I’m also impressed with what I’ve been able to accomplish so far.