This past Sunday was Orthodox Easter and my niece’s birthday party. Therefore I had to prepare something for both, thankfully my sister went with a bunny theme. I made my go to sugar cookies shaped into bunny’s but I wanted to try something new as well. I decided to make cake pops, I’ve been meaning to make them for a while and this was a perfect occasion. I had already pinned a bunch of easy to follow directions on Pinterest. So I was looking forward to finally making my very own batch. I decided to use ready to go cake mix and homemade cream cheese icing. However it’s all up to you whether it’s entirely homemade or not, either way you will still have a tasty treat in the end.
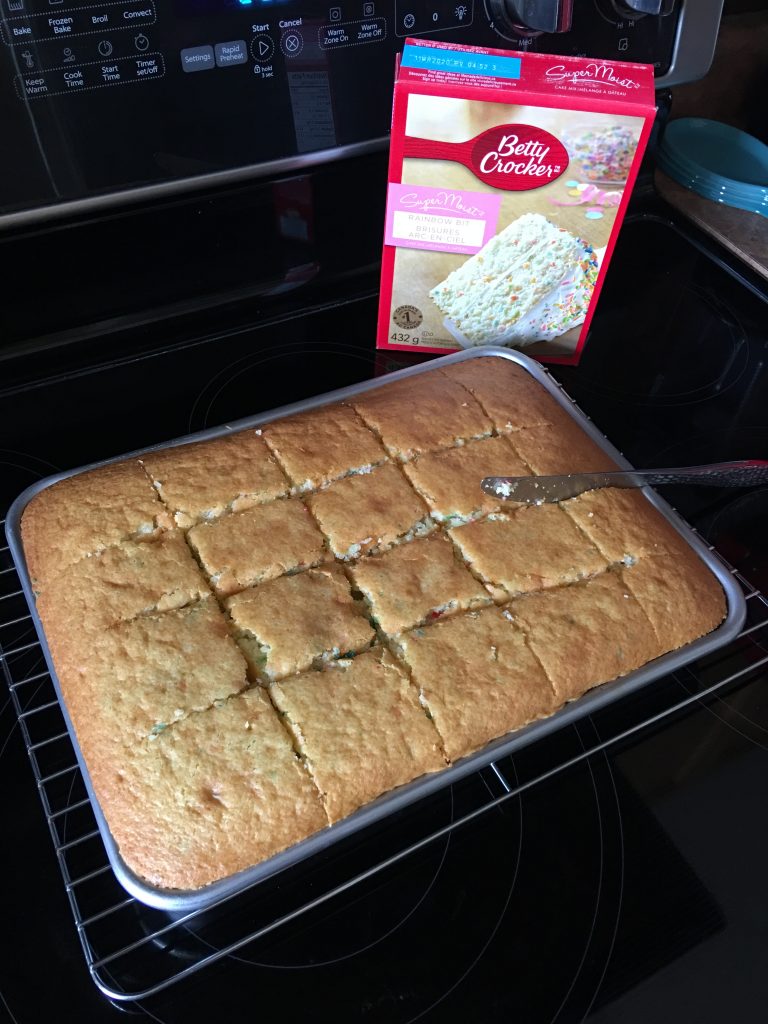
Once you’ve baked your cake, take a knife and slice the cake into cubes. This helps cool the cake down faster and also makes it easier to move it into a stainless steel bowl.
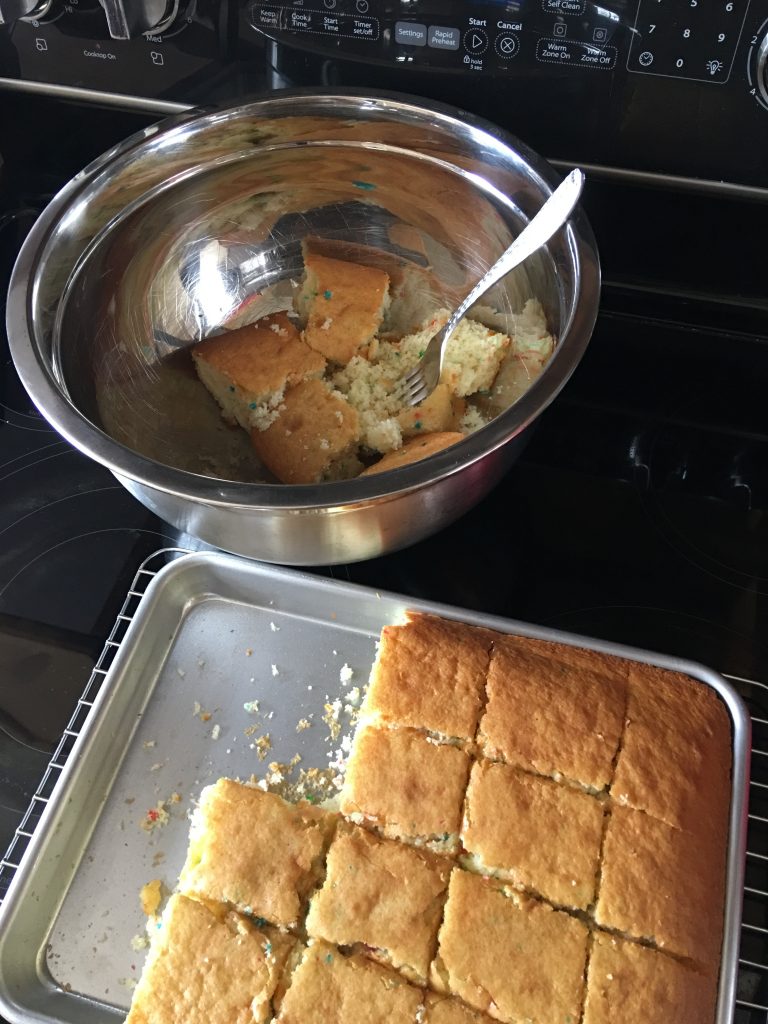
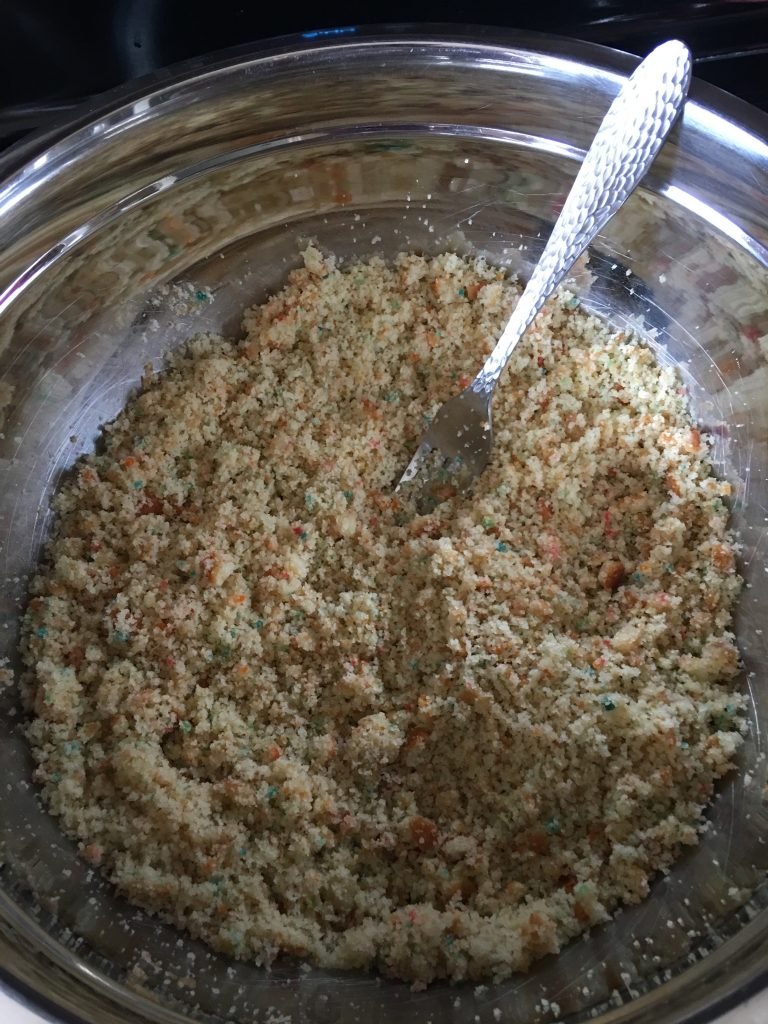
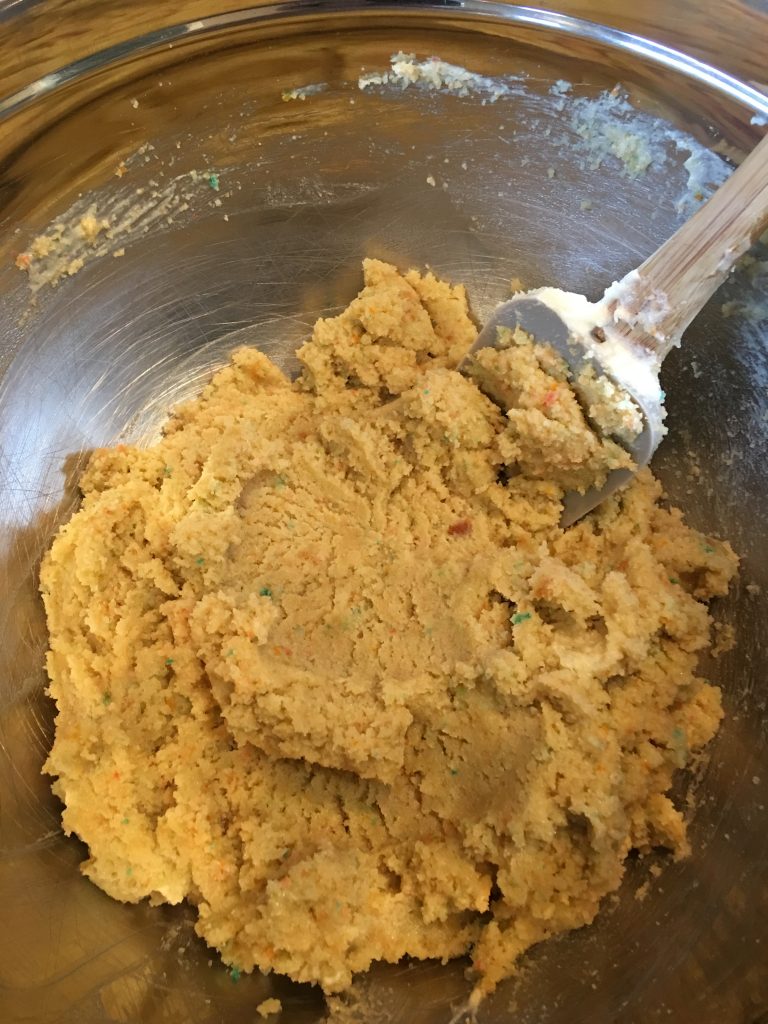
Once the cake is in the bowl, take a fork and begin to destroy it, by lightly moving your fork around breaking the cake apart into very small bits. Make sure you go through it carefully so that no clumps can be found. For example, it should look like the picture bellow.
Now, if you are using store bought icing add it to the cake a little at a time. Use a silicone spatula to fold in the icing. If you’re making your own icing, I recommend doing that while your cake is baking. However, you can also make your icing at this time too.
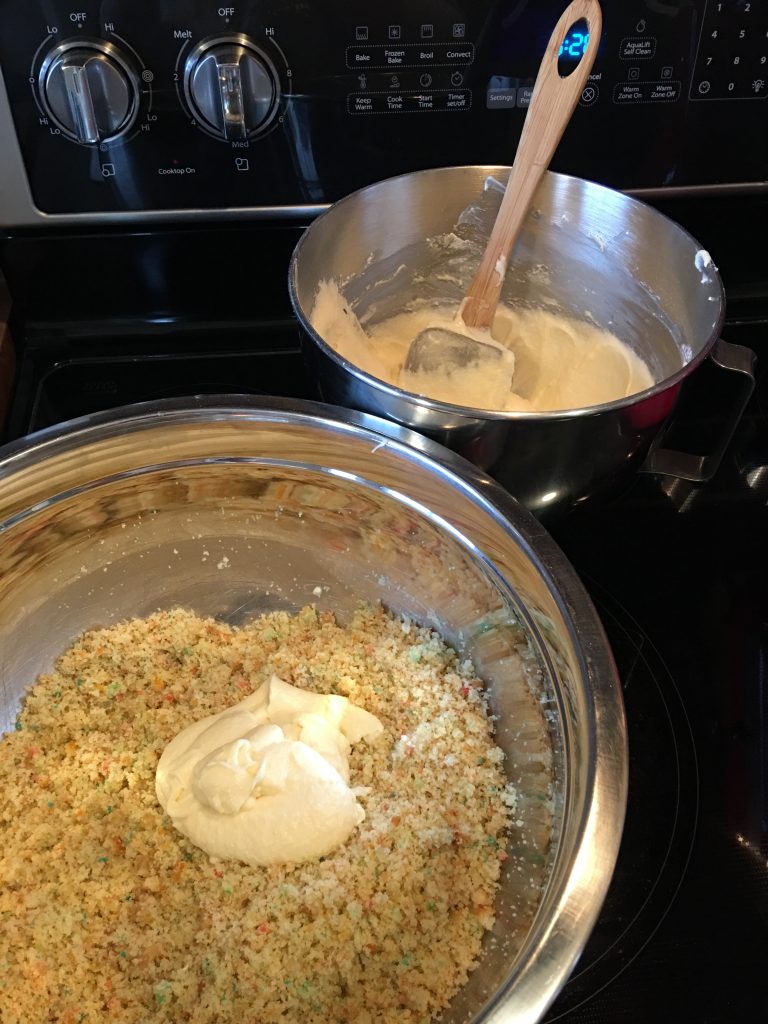
Once you see the cake combine with the icing, then it should be ready to form into balls. The picture bellow allows you to see how the cake and icing should look combined. I also recommend to give it a taste to see how sweet it is and adjust to your liking. Remember you will be dipping them into chocolate as well. Truth is, not only do I love cream cheese icing but I also believe it works well in this recipe. It cuts down on the sweetness since it’s made with cream cheese. Also since I made it myself, I controlled the amount of powdered sugar in the icing. For my cream cheese icing recipe, head to the menu and search duckling cupcakes.
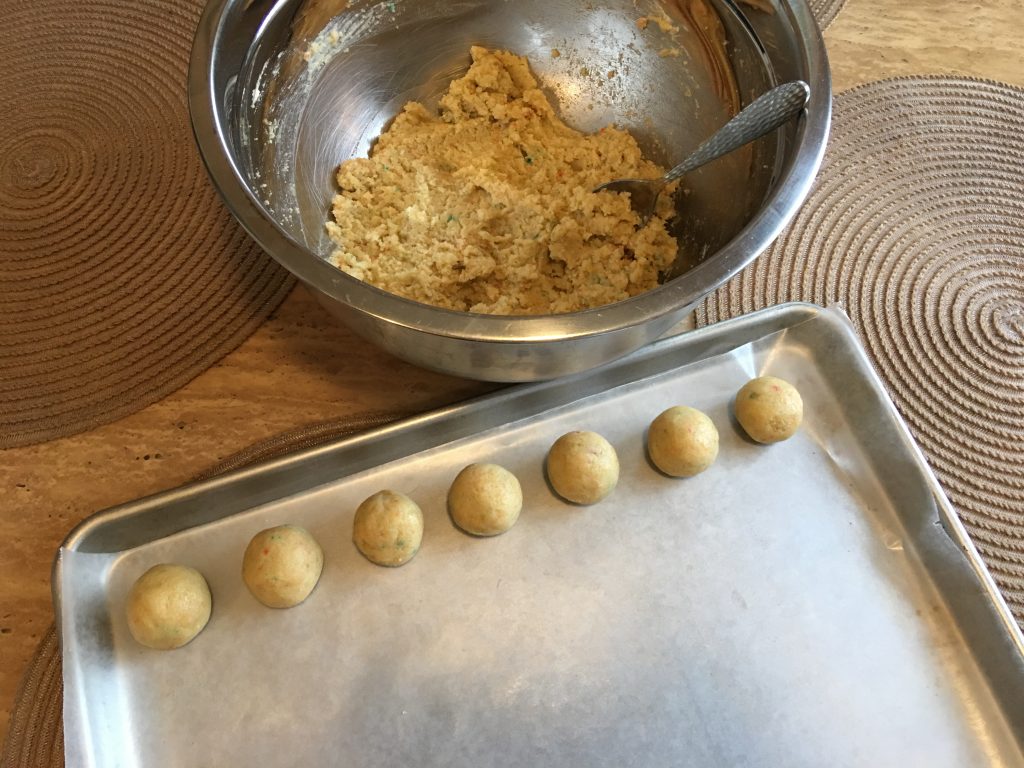
Once your mixture is ready, take a pan and line it with wax paper. Then take a tablespoon and eyeball an amount for a cake pop portion. Roll it in between your palms and shape it into a round ball. I was able to make 37 cake balls using one box of cake mix. I personally choose to freeze them at this time and dip them into chocolate another day. However if you want to complete the process, then place them in the fridge for a half an hour to an hour. In the mean time melt your chocolate. Side note, when cake balls are cold the chocolate will harden faster.
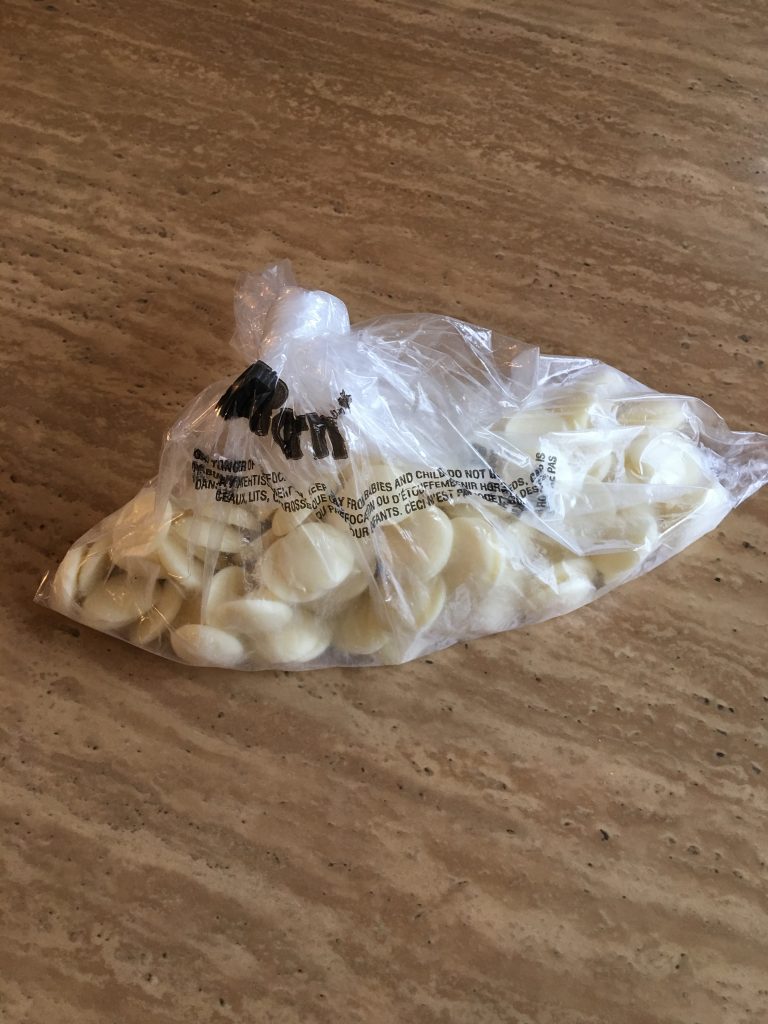
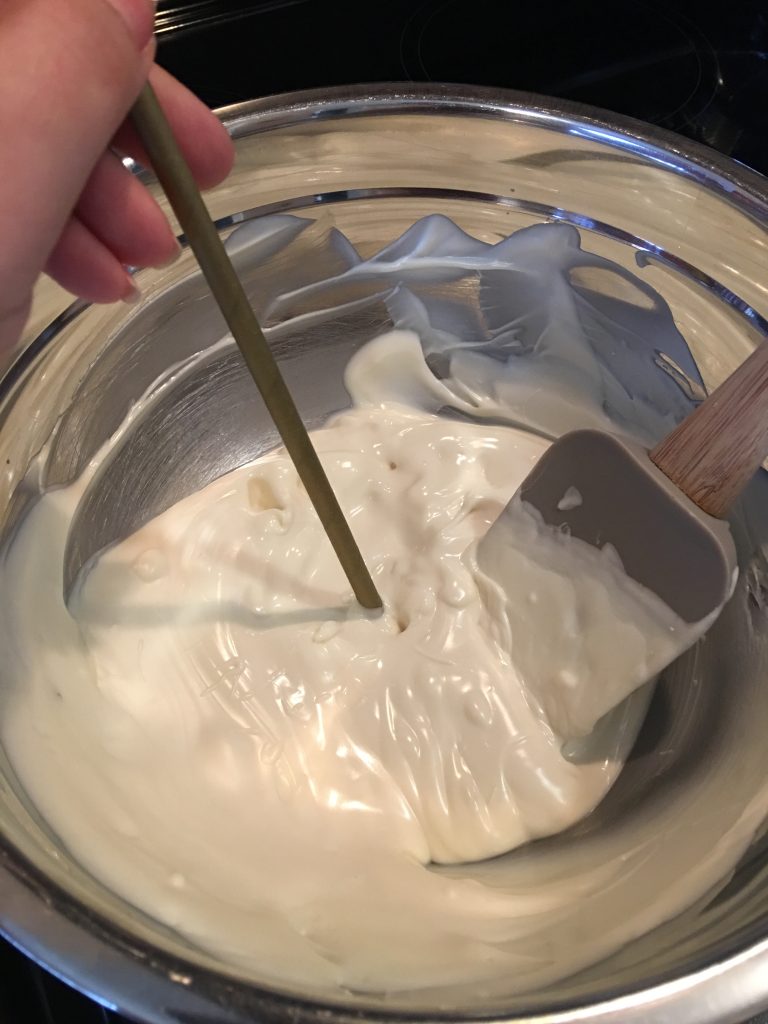
I purchased white chocolate melting wafers from Bulk Barn. To melt them I used a double boiler and my silicone spatula, however if you have a microwave you can use that. Once all the chocolate had melted I removed it from the heat to prevent any bubbles. You don’t want to boil the chocolate or it will become too thick and hard to dip your cake pops into.

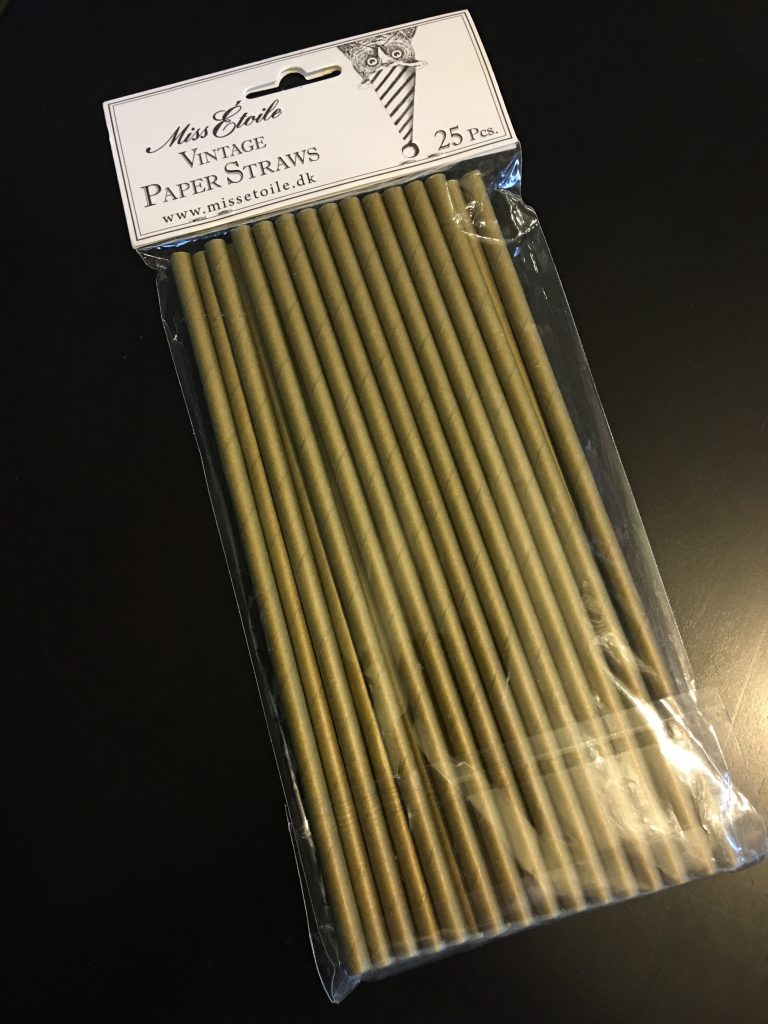
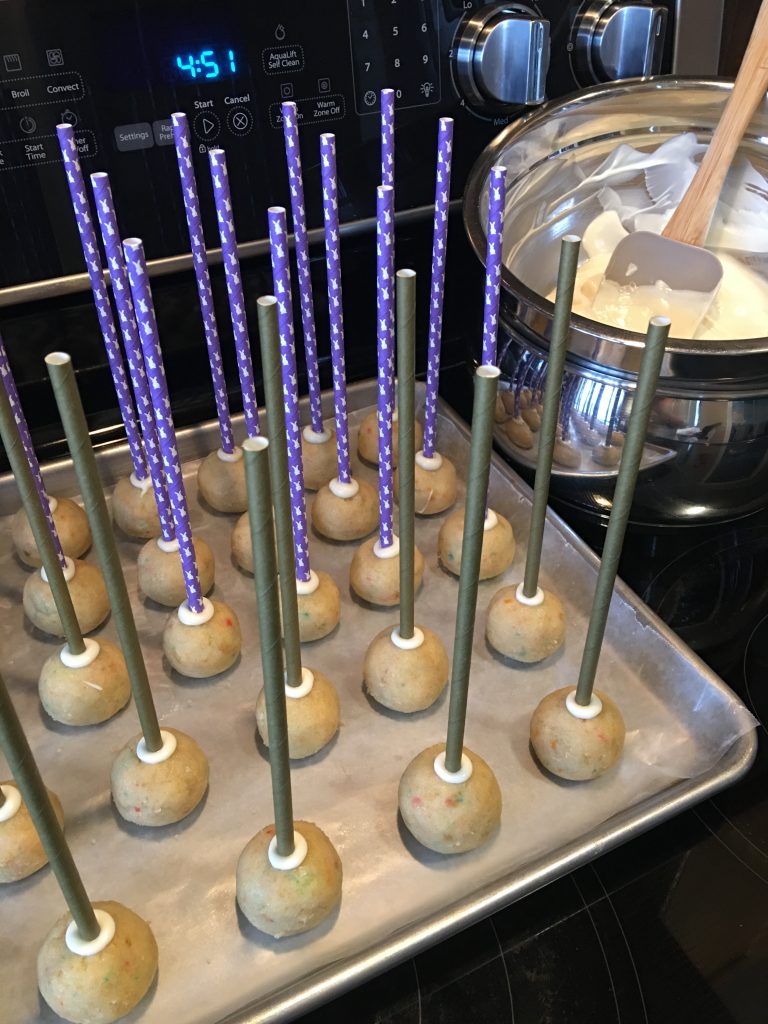
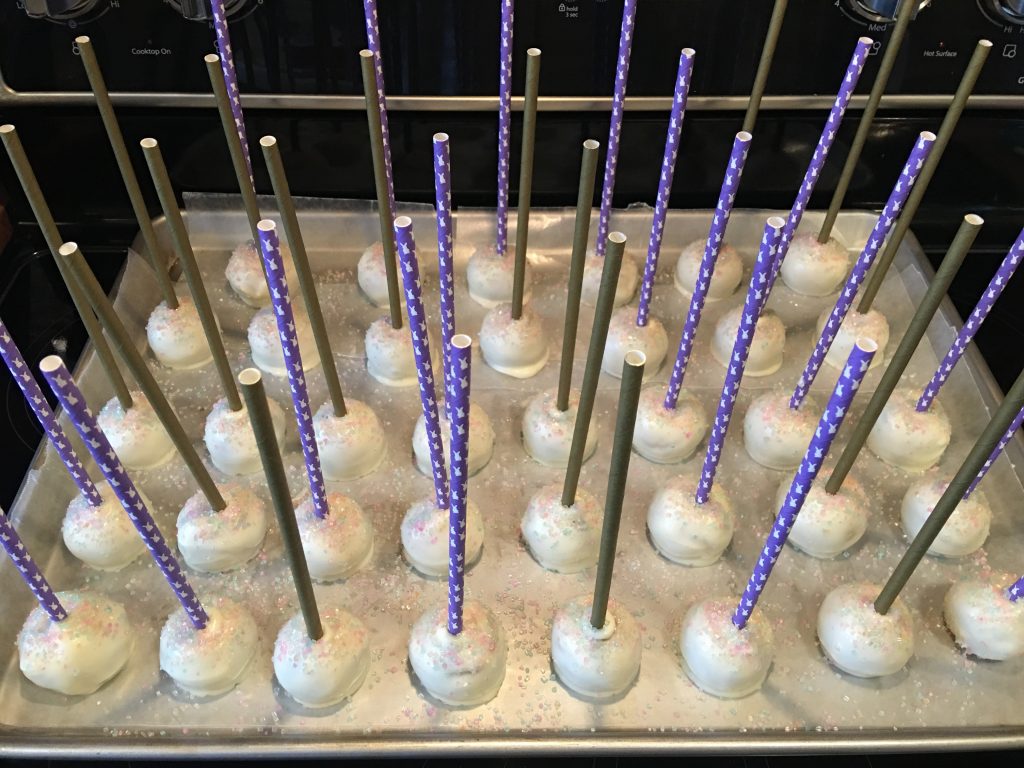
Specific cake pop sticks are available or you can use paper straws. Your more likely to find a variety of colours and designs if you go with paper straws. I purchased purple straws with white bunny’s and solid gold ones to go with my sister’s colour theme pallet.
I then proceeded by taking a straw and dipping the tip into the melted chocolate, then I inserted it into a cake ball. I continued this process until I was done. This is a must, since the chocolate acts like a glue for your cake ball to adhere to the straw.
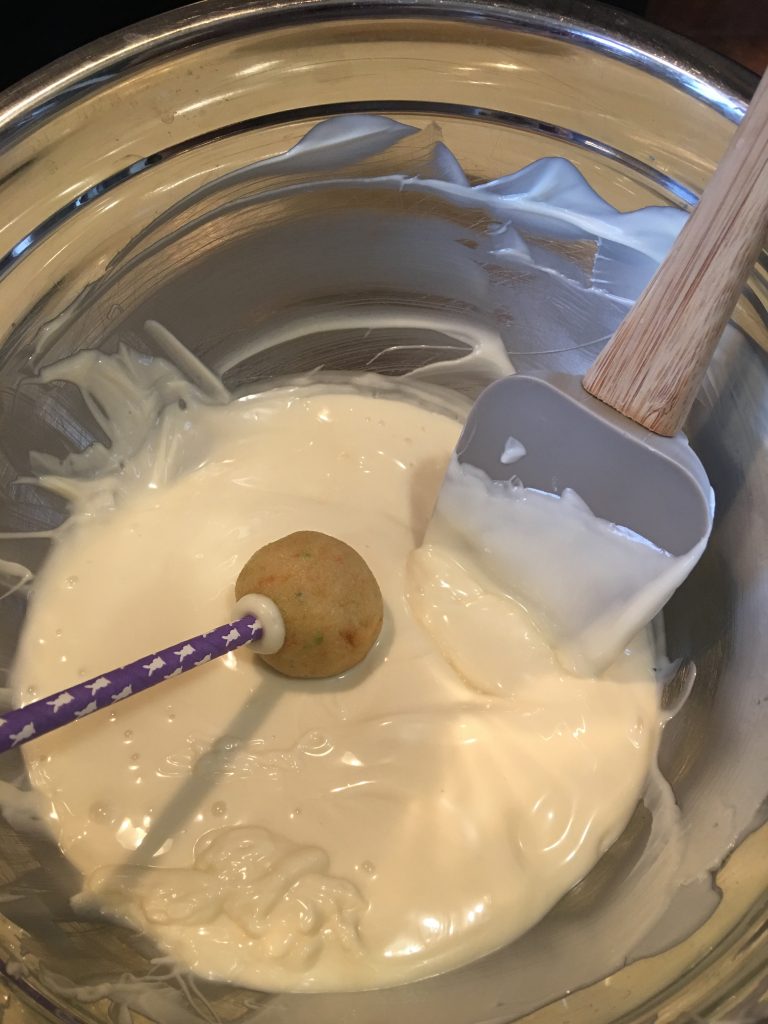
Then it was time to dip one by one into the melted chocolate, I also used my spatula to help cover the cake balls. Once completely covered, I place the cake pop on another lined pan.
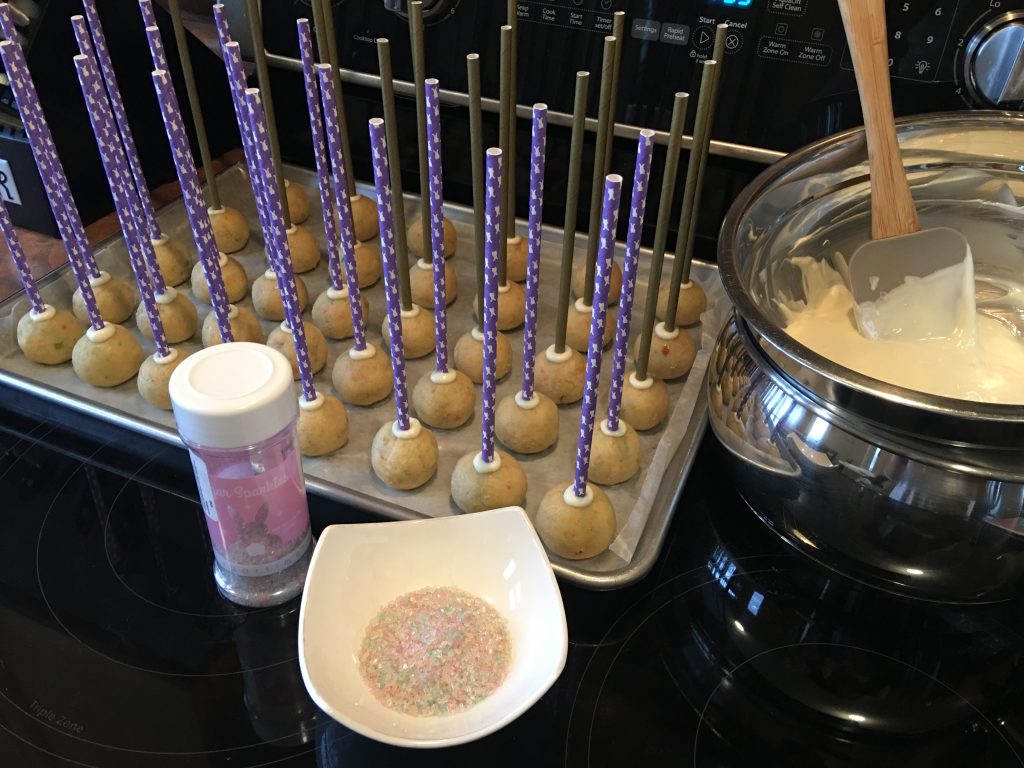
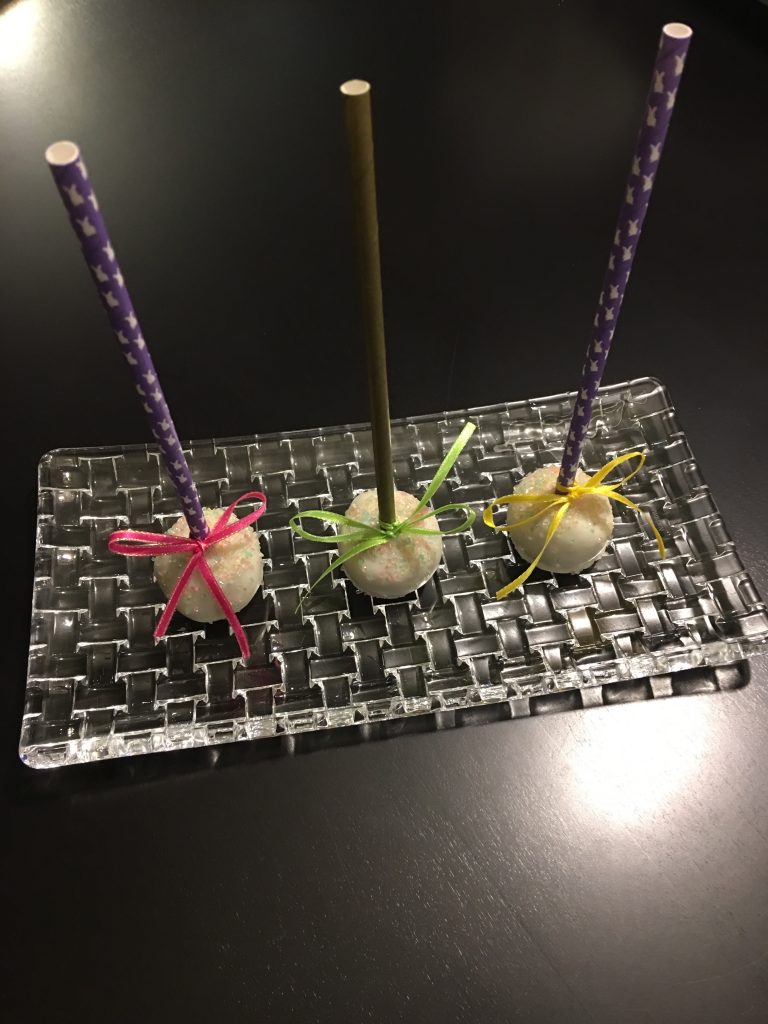
I had a small bowl of sprinkles ready to use and made sure to generously cover where the straw and cake ball met. As you can see I was planning to display my cake pops upside down. If you would like have them upright like a lollypop, you will then need something to stick them into so that they could harden. There are all sorts of inexpensive ways or you can buy specific cake pop stands.
I made sure to let them harden fully, later I added some bows with ribbon that my sister had provided.
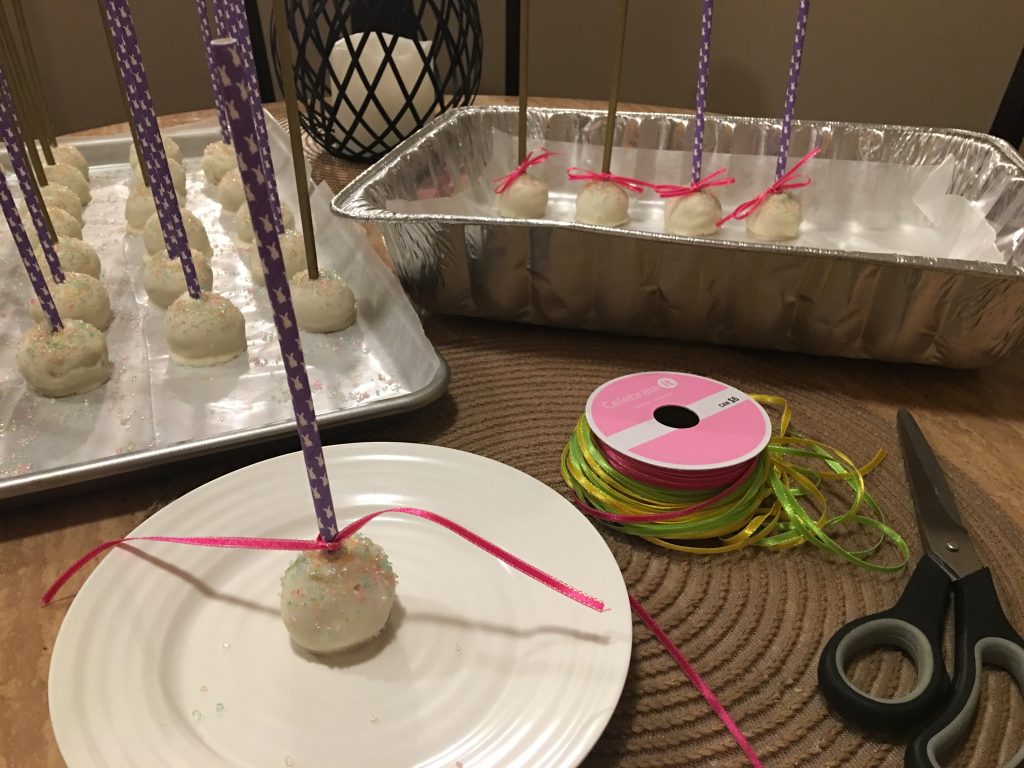
I measured each ribbon out and added bows to each and every cake pop for a finishing touch. Then I placed them in a deep container, horizontal and covered. I put them in the fridge until the day of the party.
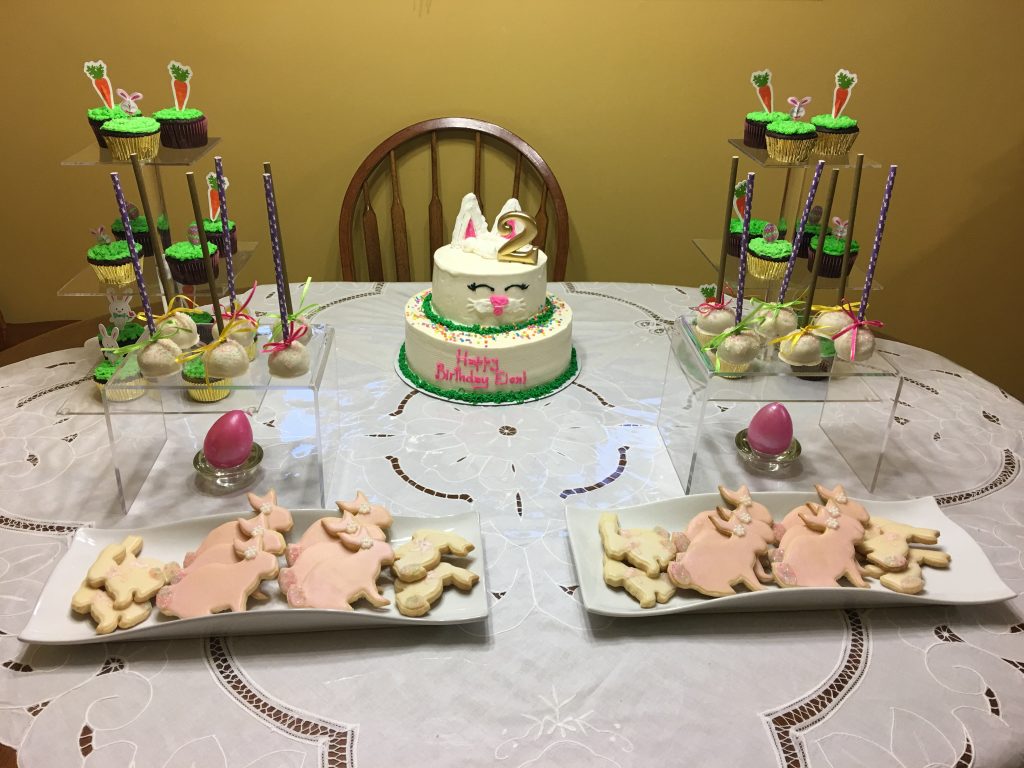
I don’t mean to brag, but I have to say they turned out pretty good, specially taste wise. In fact I was planning on having one today, but my girls and husband polished them off already. This combo of cake and icing was a hit, but I can’t wait to try an all chocolate one too. Looks like I’m gonna have to make another batch, most likely for one of my girl’s birthday parties. I think the most difficulty I had was dipping the cake pops into the chocolate. Some of my cake balls didn’t want to stay on the straw, but thankfully no casualties. I was able to get those ones on to the pan in time. However this was my first time trying and I think with practice and what I’ve learned from this experience, it will only help me improve.