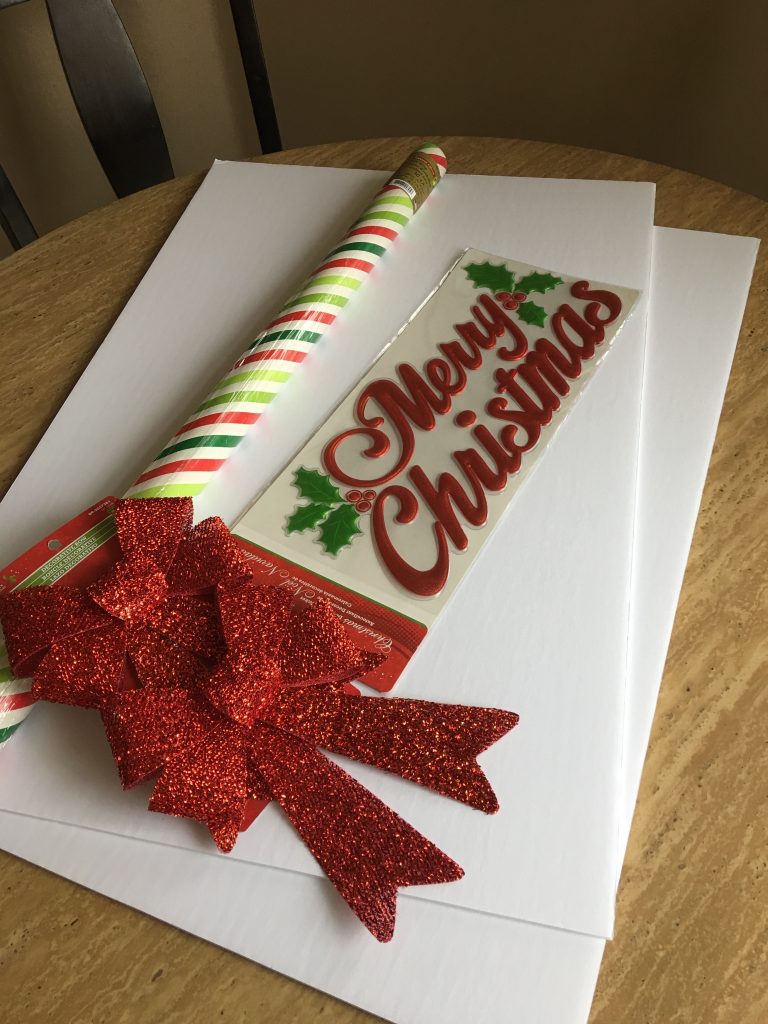
With Christmas around the corner or at least that’s what it seams, parties are in full swing. This past weekend my husband and I hosted a big fat Christmas party for our families. This year I thought it would be nice to add something extra to the party. Since taking photos is a given what about making them extra special and amusing at the same time. Photo booths and props are hugely utilized these days and everyone loves them. I knew I could come up with something however this was a house party with children so I wanted something simple, cost efficient and fun. First stop Dollarama, actually I was able to find everything I needed there so technically it was a one stop shop. I began at the school supply aisle where I found foamcore also known as foam board. This material is sturdy enough and perfect as the frame. Unfortunately they only carry one size which isn’t big enough for what I wanted so I grabbed two boards instead. After that I went to the Christmas decor aisle, I figured I could find a sign or something that said Merry Christmas on it. Sure enough I found a big decal, also in that same aisle I came across many bow options and I decided to go with two. From there I looked for and found the Christmas wrapping paper, I searched thoroughly through all the rolls to find something that went well with my Merry Christmas decal.
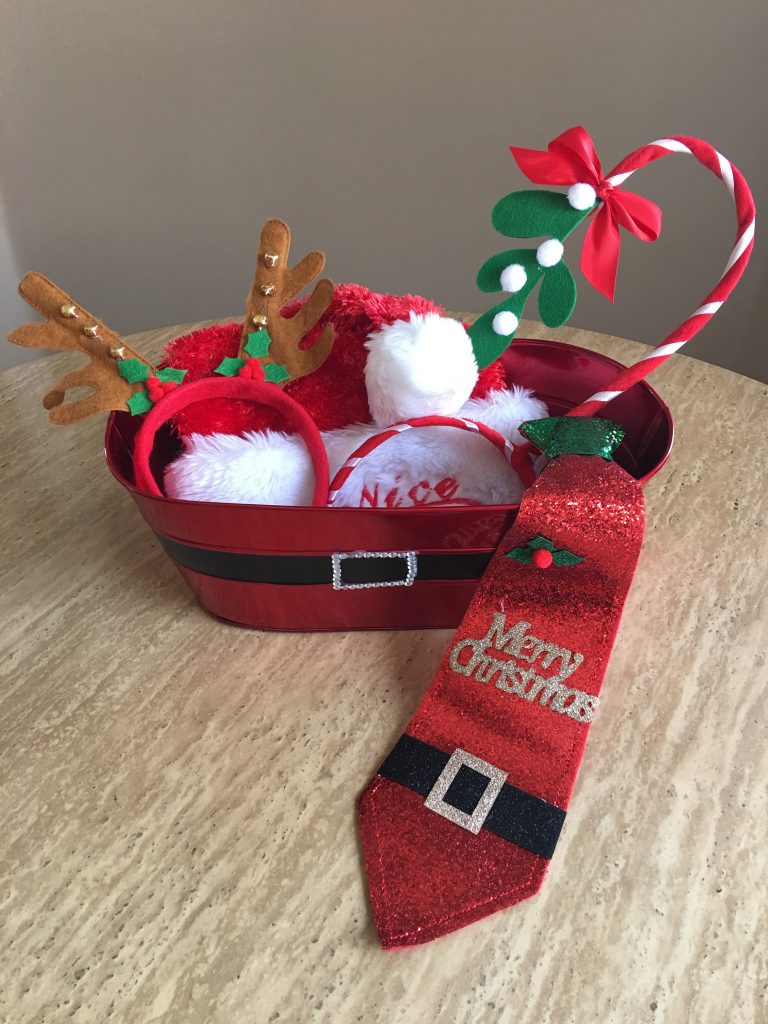
Last on the list was to find some accessories, since you can’t have a mocked photo booth without some fun items to go with the theme. I already had a Santa hat but I needed a few more options for my guests. I picked out some reindeer antlers a Christmas tie and a mistletoe headband. I placed all the items in a tin bin that was from a previous Christmas gift basket, sometimes keeping things around comes handy.
Dollarama items:
- 2 bows
- 2 foam boards
- 1 roll of wrapping paper
- 1 Merry Christmas decal
- 4 or more Christmas related accessories
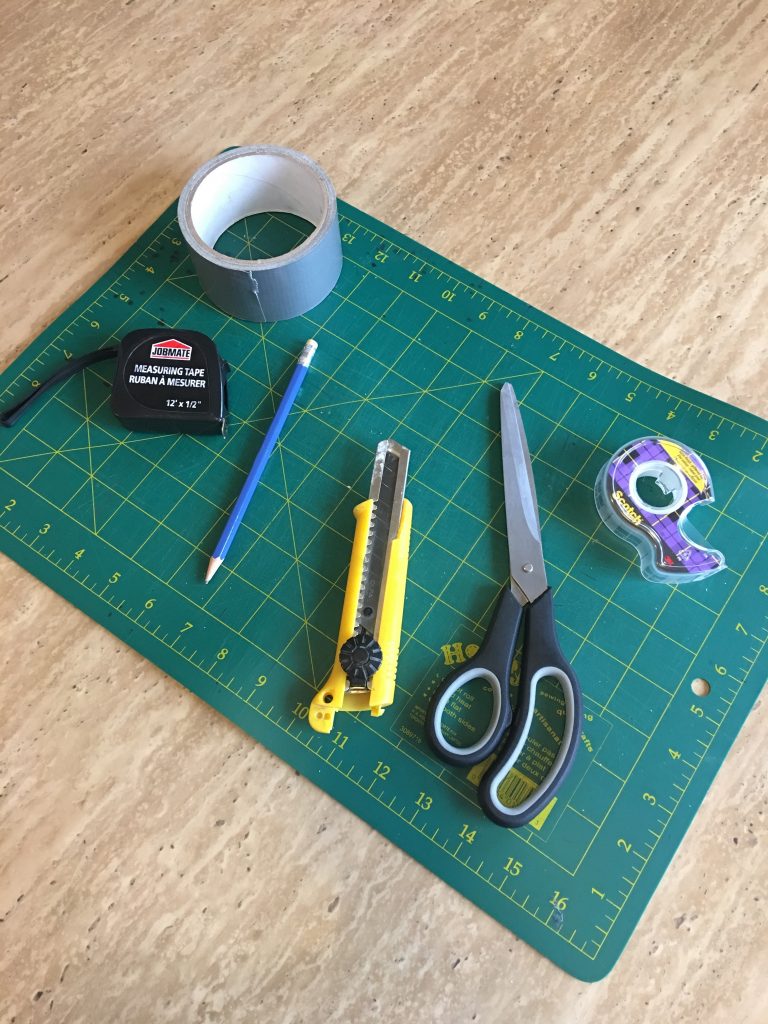
Once I was home I got together all my other items that I needed to start my photo frame. These items I am certain you have at home and on hand. If not your local dollar store would have them too and you can pick up everything at the same time.
Other items required for photo frame:
- Strong Duct tape
- Tape measure
- X-Acto knife
- Scotch tape
- Scissors
- Pencil
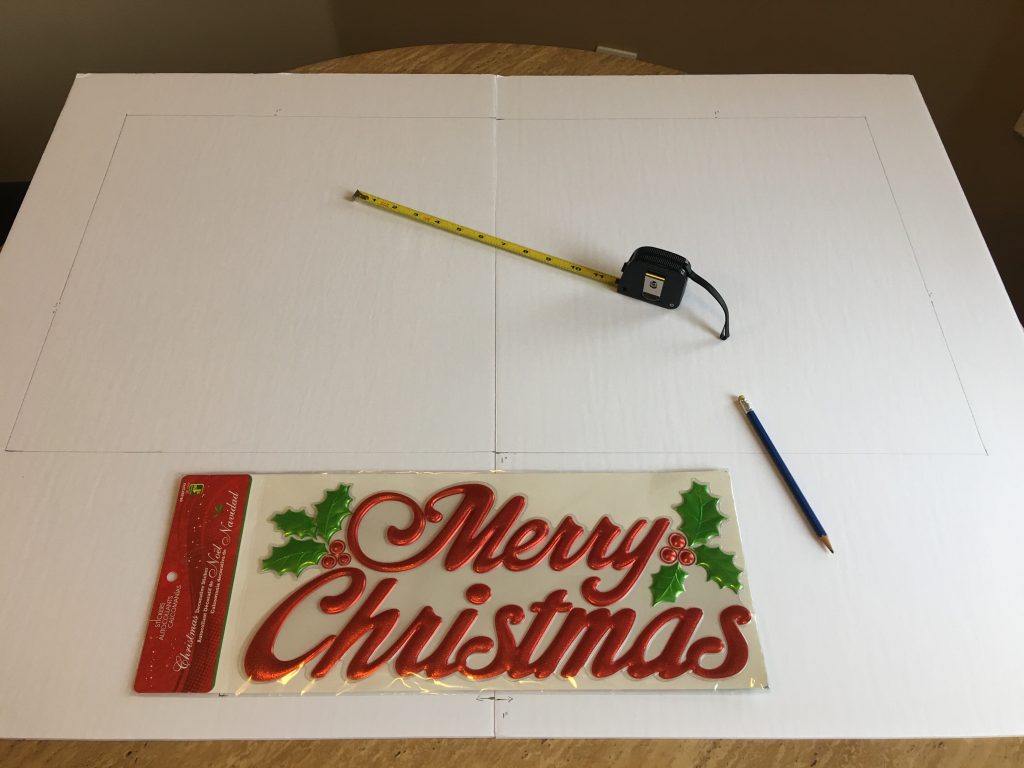
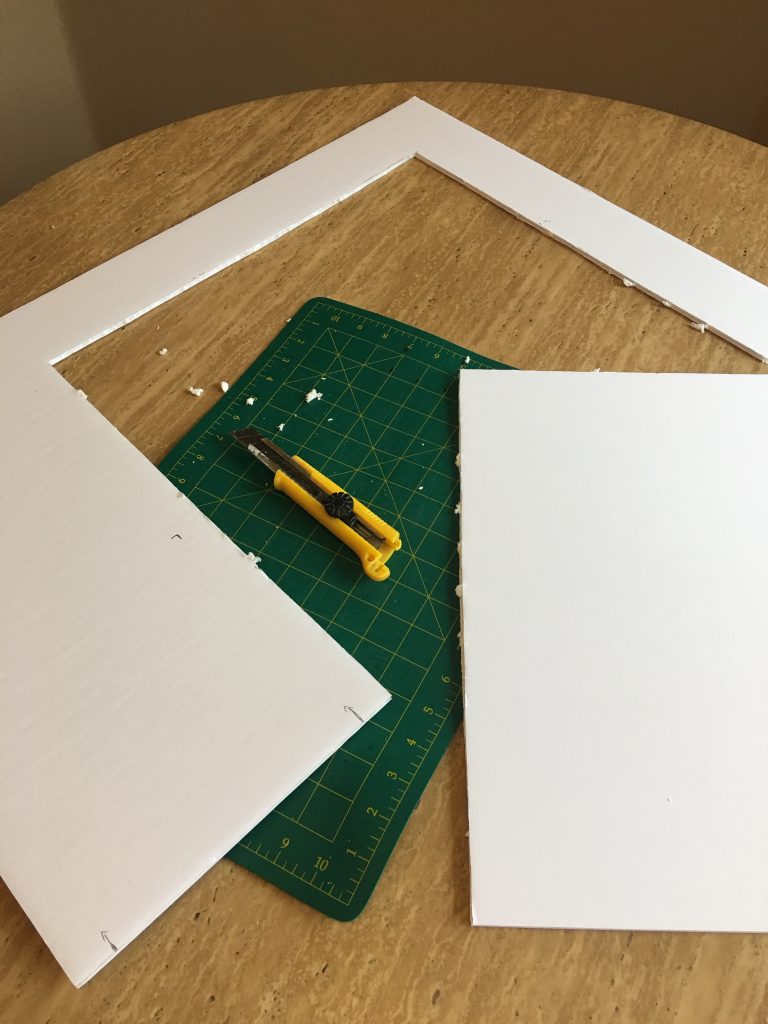
To begin I placed my boards side by side to see the shape I want. I decided to go with them vertical since that would give me a bigger window option. Plus room for the Merry Christmas decal at the bottom of the photo prop frame. I then took my tape measure and pencil and started to map out where the boarder would be and how much space I would need at the bottom. I left 3″ from the top and both sides, at the bottom I left 1″ from the sign and another 1″ bellow the sign. I decided to have the sign right in the middle but you can also have it off to one side.
Once your done that proceed by cutting out the unwanted foam board with your X-Acto knife. Make sure you have something bellow to protect your surface, such as a cutting mat. Side note I would keep the unwanted foam board for perhaps another project.
Continue on and cut out the other board as well and you are left with two identical haves such as bellow. Place them side by side for the next step.
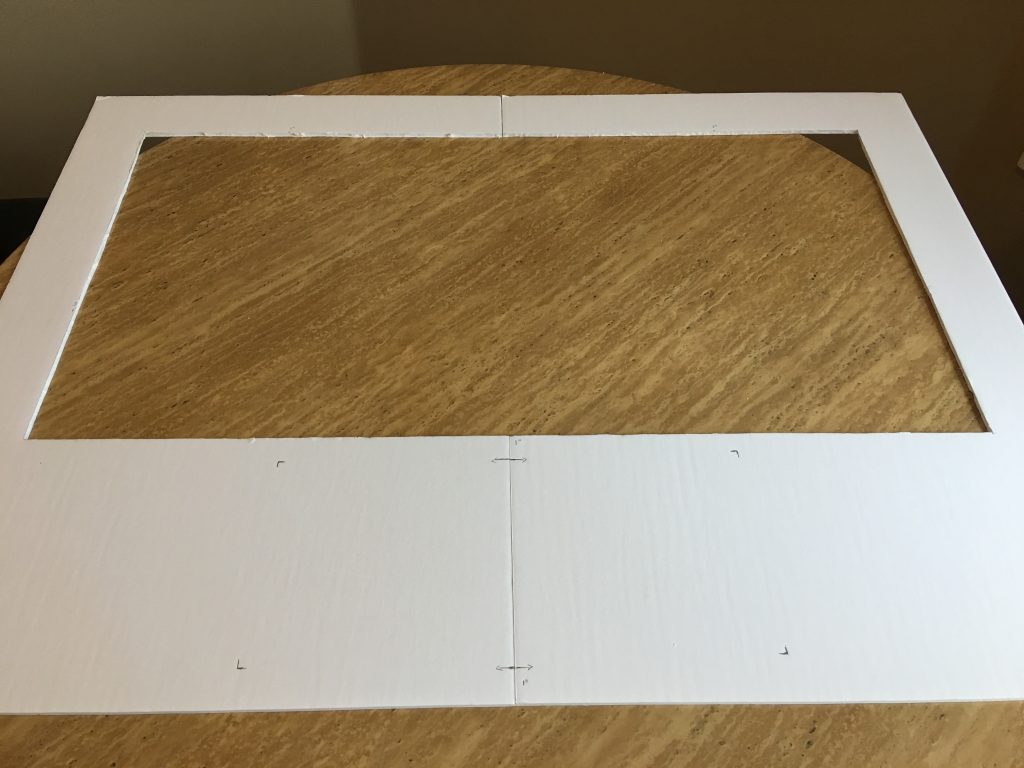
Grab you Duct tape and go to town, basically add some around your seams to bond the boards together. Then add some more across the seams for extra assurance. You don’t want the two boards to come loose and start to flop around. Make sure you do the same on the back side as well. Once your done you can begin to wrap the frame up just like you would a gift. However keep in mind this will be photographed so make sure to do your best. Specially if there is a pattern you need to make sure to follow that.

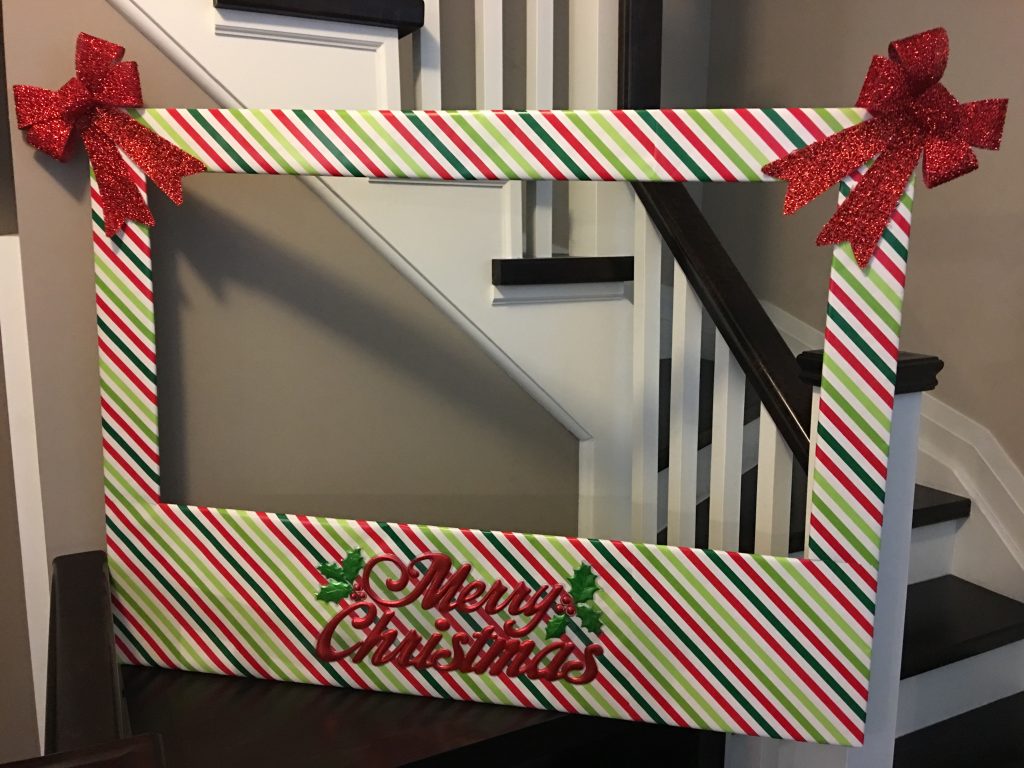
Once your done with the wrapping add your bows, I decided to place them on both top corners and made sure they wouldn’t interfere with the window opening as much. I used lots of Scotch tape to keep them secured or you can use a glue gun too. Then I just peeled the backing off the decal and centered it on the frame, pressing on it also to make sure it had properly adhere to the wrapping paper. And there you have it your very own Christmas photo prop frame, ready for some fun memories.
When Christmas is over you can store it away in a plastic bag for next year. Or better yet tear off the paper and do a whole other Christmas theme next time. The possibilities are endless, you can also reuse it for another type of party. Like New Year’s Eve or a Birthday party, since there are so many wrapping paper options out there these day’s your sure to find something to go with your theme. Once you have the wrapping paper as your base from there you can add as much or as little as you want. Just use your imagination and the end result I am sure will be pleasing.